Hyper-V has a very interesting feature that allows to save a lot of space: By creating a golden VHDX Disk with the base operating system, you can then use so called “Differencing” disks, which reference the Master VHDX and only save the changes on their disk.
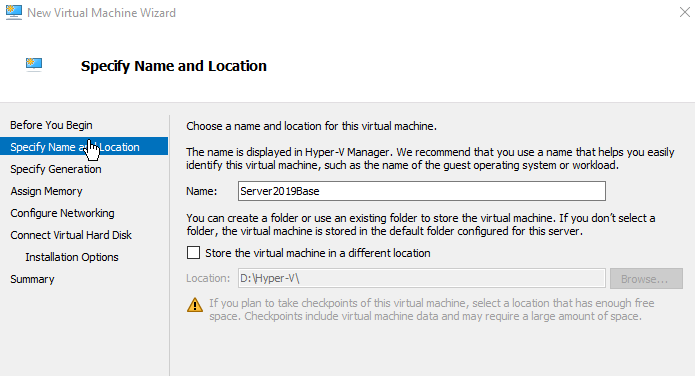
So, first things first: Just create a normal VM to prepare the golden image for later use.
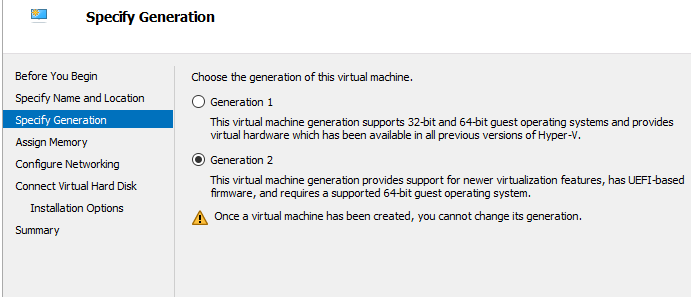
Specify Generation 2
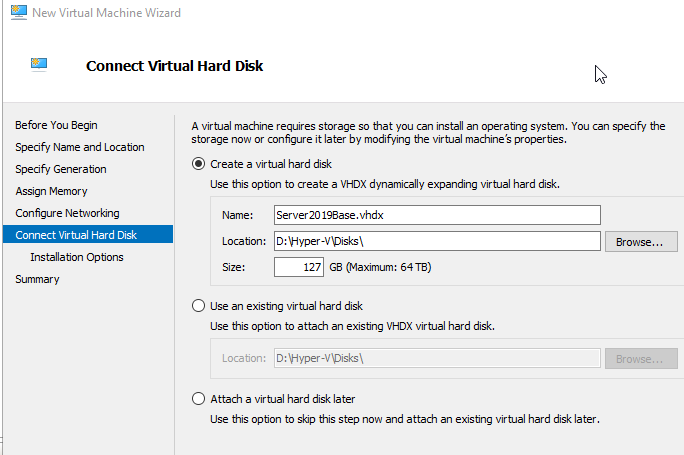
Give the Golden disk a self-explanatory name
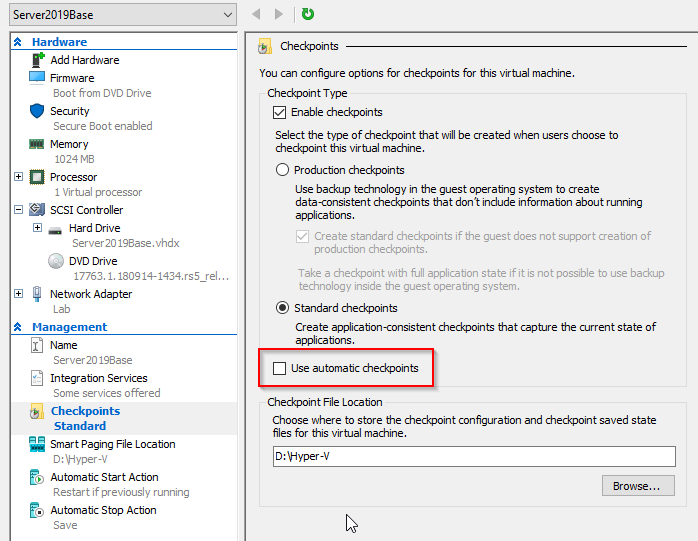
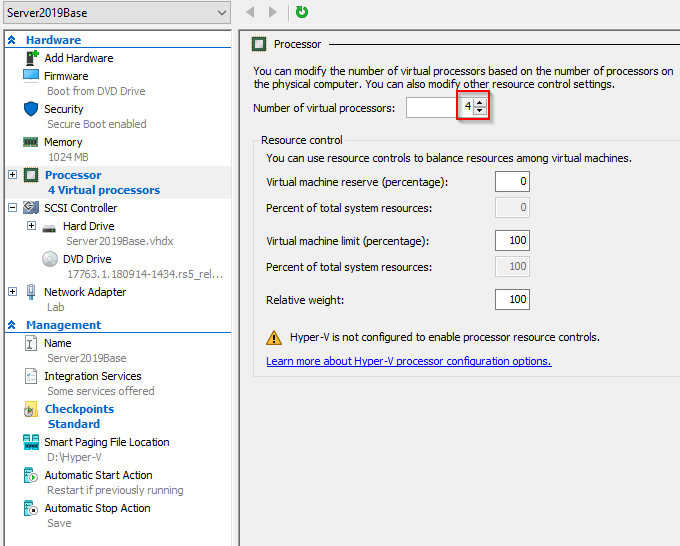
Before starting the VM, disable automatic checkpoints (in VMware known as Snapshots) and give it more juice. Do not forget to apply changes:
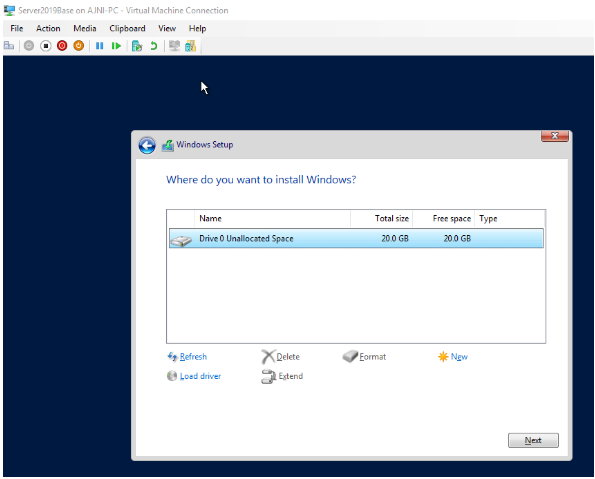
Install the OS (standard procedure)
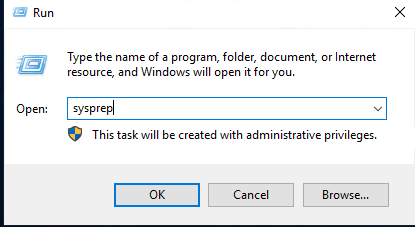
Once the OS installed and custom settings are made, the machine is ready to be Sysprep’ed.

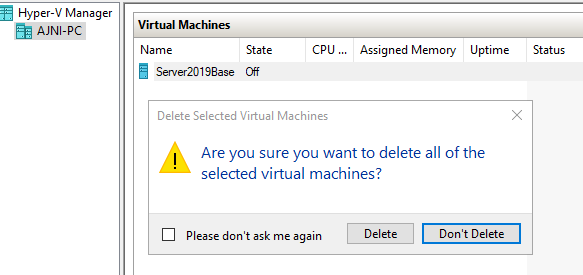
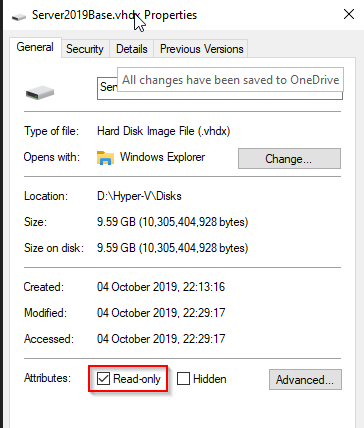
Delete the VM once stopped, the disk will not be deleted. Then locate the VHDX and set it into Read-Only mode.
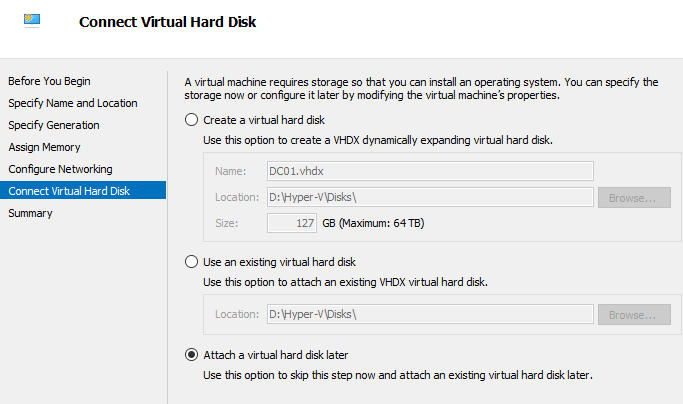
Now a new VM can be created in Hyper-V with a Differencing disk. Note: In the VM creation wizard specify “Attach a virtual disk later”:
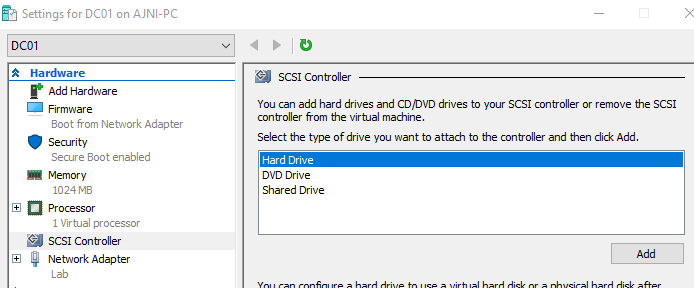
Now in the VM settings under SCSI Controller add a new Hard Drive:
Select the last option for Differencing:

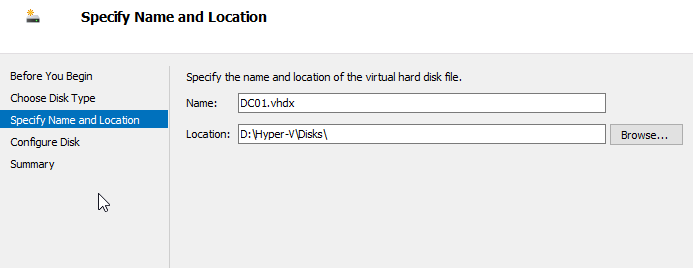
This will be the new disk name:
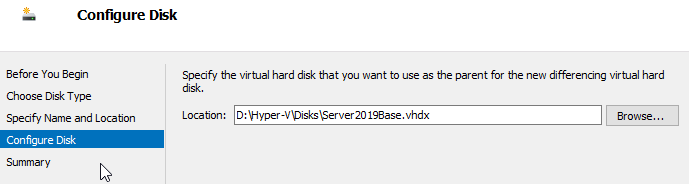
And finally, the base disk we created previously:
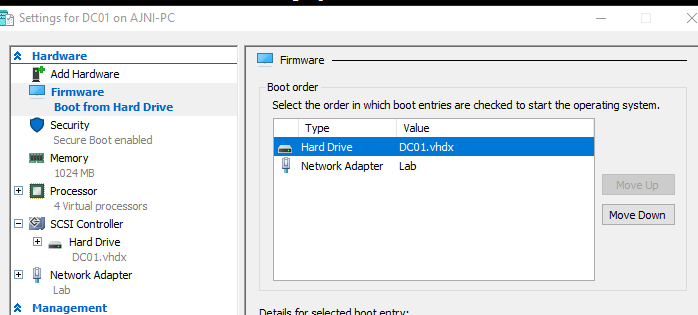
Before powering on the machine make sure the new disk is first in the boot order.
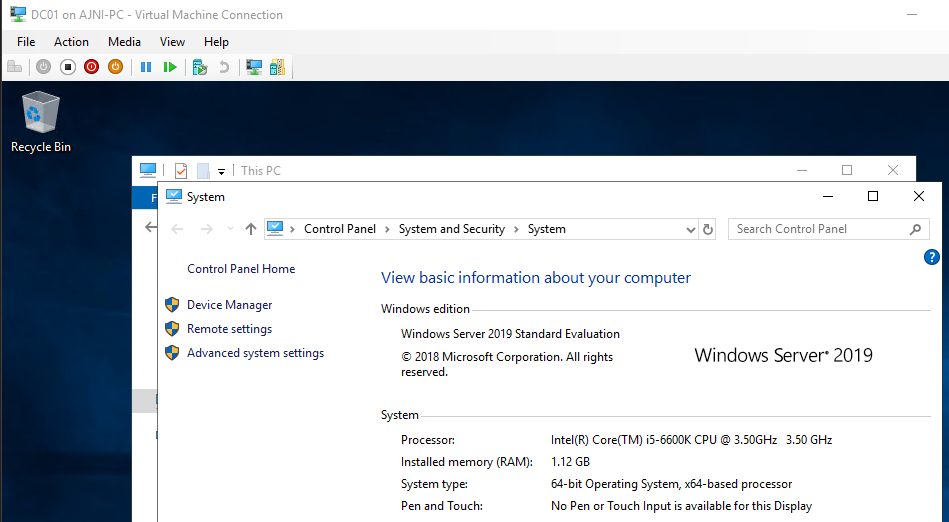
The VM is up and running!
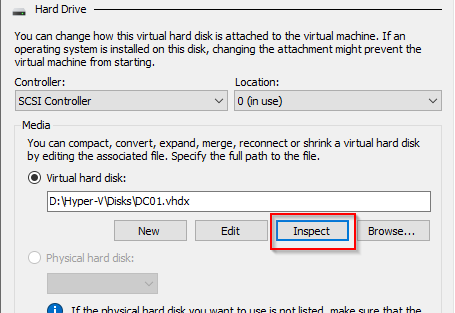
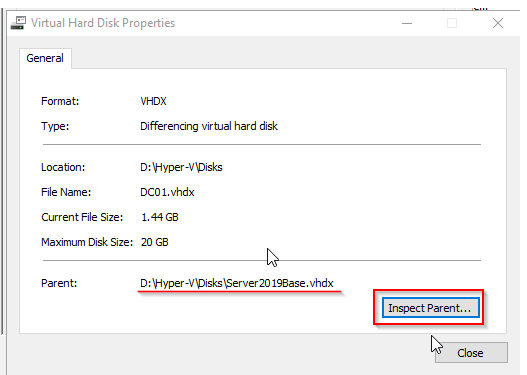
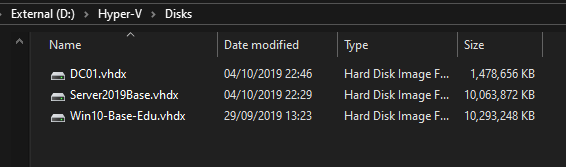
Notice the size of the new VHDX. Only 1.4 GB!
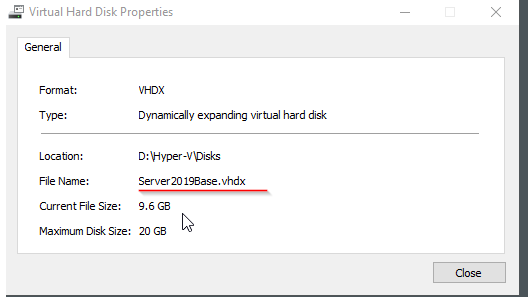
In the VM settings you can once again inspect the disk and see the relationship with the golden disk.