Getting started with Microsoft 365/Exchange Online in 2021 is very easy and relatively cheap (I am paying 5 bucks a month for one mailbox and some extra stuff, like 1 TB of OneDrive storage).
Roughly speaking, here are the high level steps from beginning to end:
- Create your subscription
- Add a custom domain
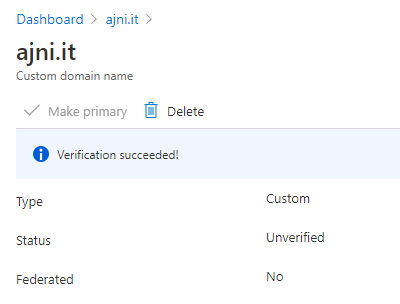
- Verify the domain
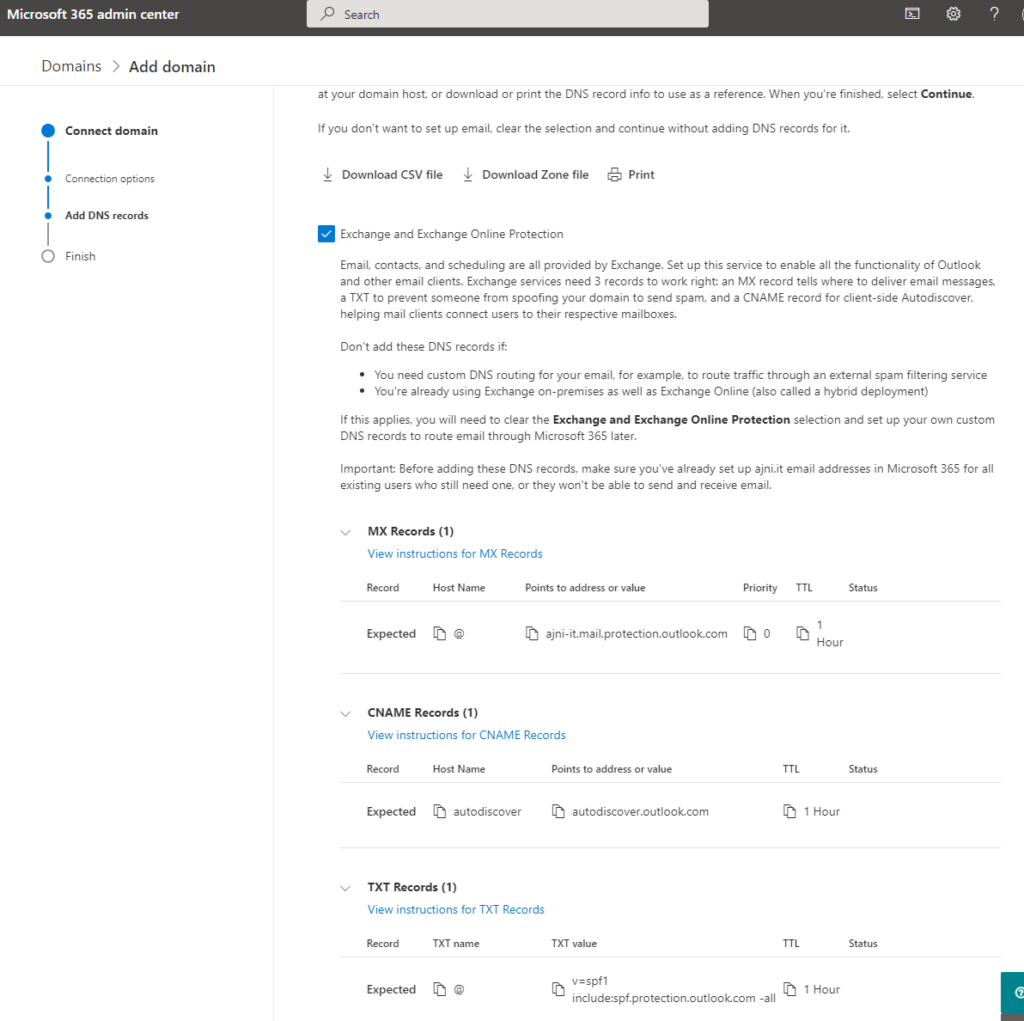
- Add DNS entries for MX, Autodiscover, and SPF
- Create users
- License users
- Wait some minutes to see the mailbox in Exchange Online
- Add account in Outlook
After creating your tenant (easy to do, you can also work with a third party, instead of buying the subscription directly off of Microsoft), open https://admin.microsoft.com and select Azure AD. Unser Custom domain names, add the organization’s domain.
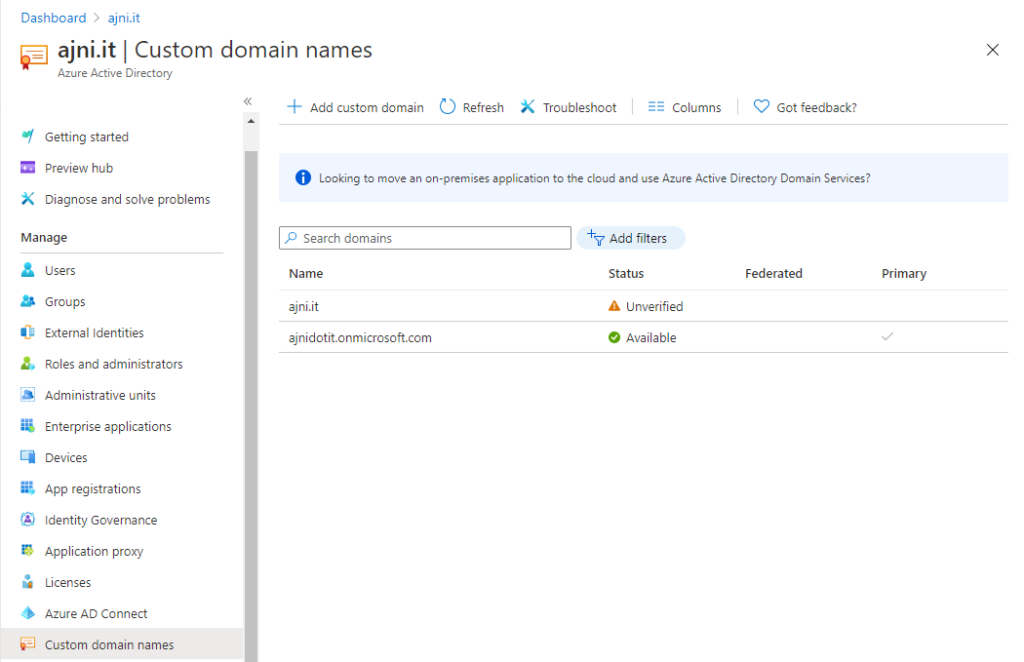
You verify the domain by adding a TXT record to at the root of your domain. You could also verify by MX record, but usually the organization has some sort of functioning mail product, so in a migration scenario that is not an option.
@ means the root of your domain. In my case ajni.it
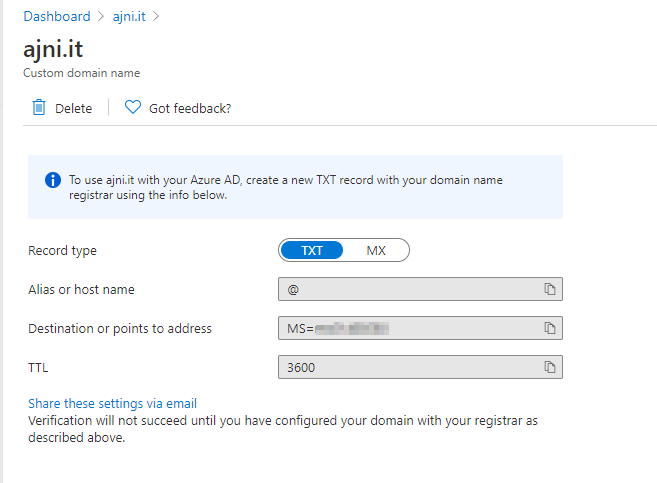
Due to DNS Time To Live (TTL) and caching, this might take some time.
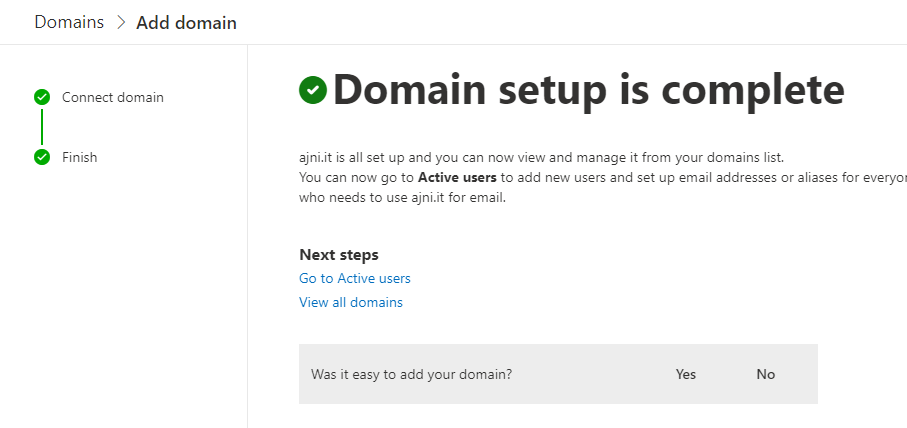
Back to the Microsoft 365 Admin Center, under Settings > Domains select the newly added domain and then Continue setup. Add the 3 records to your DNS.
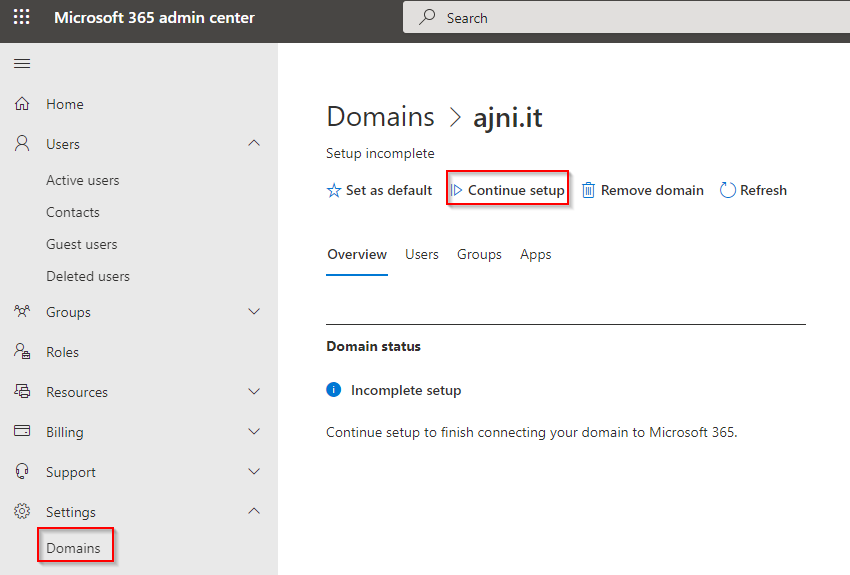
Select Add your own DNS records. For mailing, Exchange Online and Exchange Online Protection records are needed.
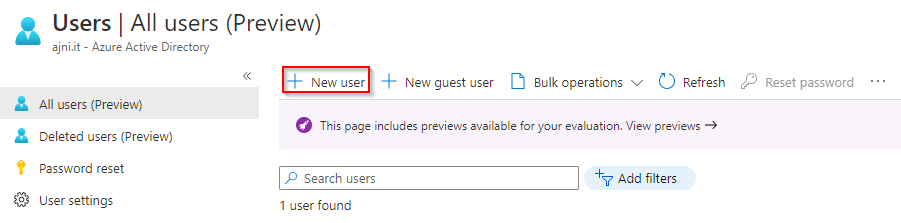
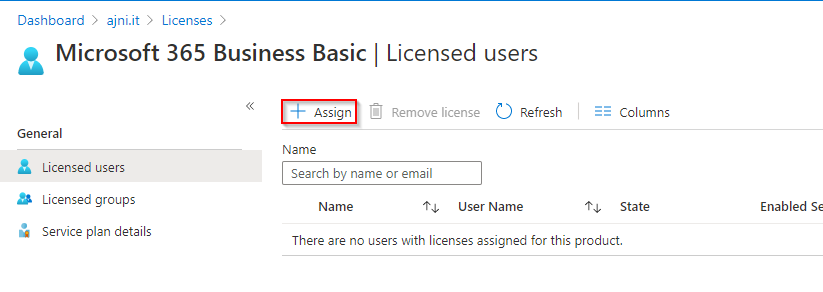
After correctly adding DNS records for Exchange Online, add a user in Azure Active Directory and assign the license. Very straightforward. Set usage location to your organization’s country. If you do not specify a usage location, licenses cannot be assigned to that user.
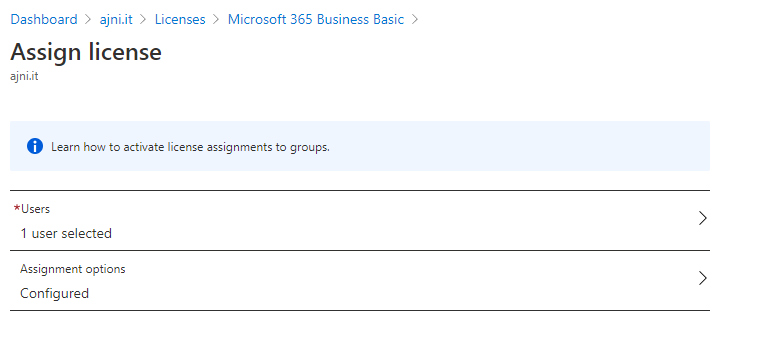
Under License the license can be assigned.
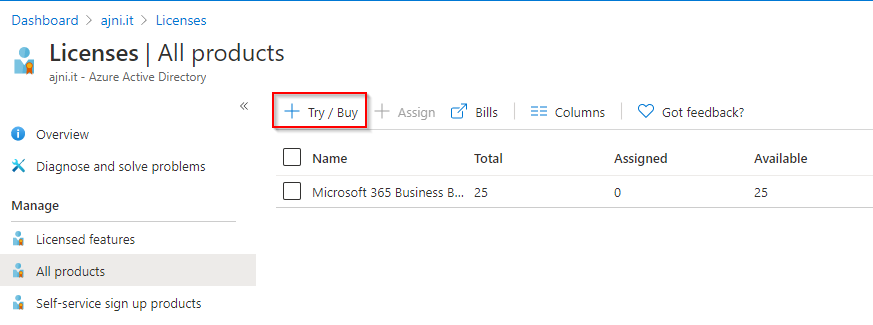
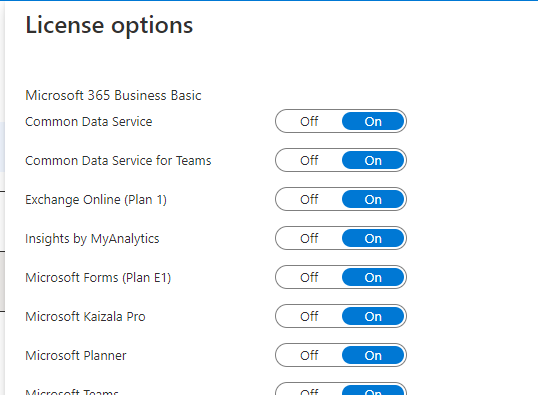
You could also choose to selectively assign certain products of the subscription. Either way one license will be burned.
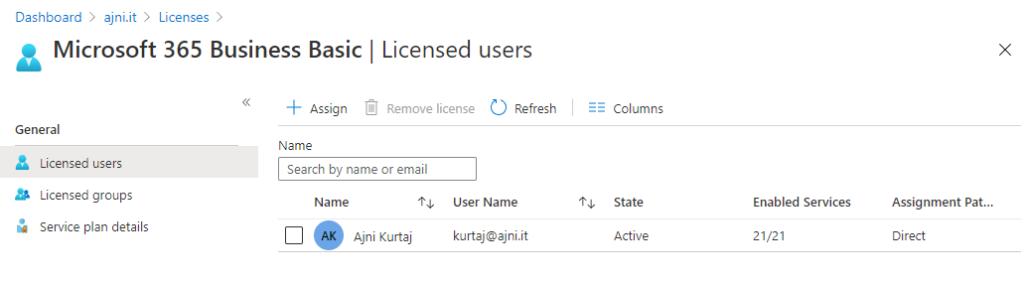
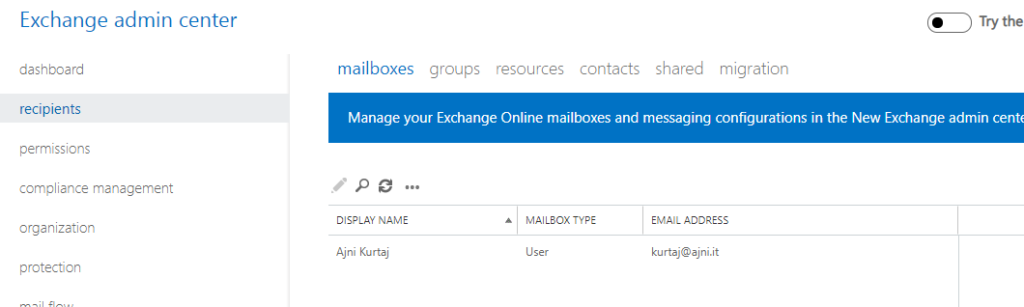
It takes some minutes for the mailbox to show up in Exchange Online after assigning the license.
From now on, the account can be added in Outlook or accessed through Outlook on the Web https://outlook.office365.com