Today I got a new Linux VPS, therefore I decided to show you all the steps I took to migrate to my WordPress site to the new server.
So let’s get started.
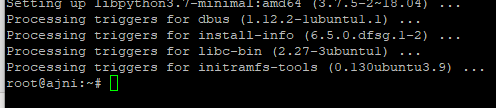
Firstly, it is always good practice to update the OS.
apt update
apt upgrade
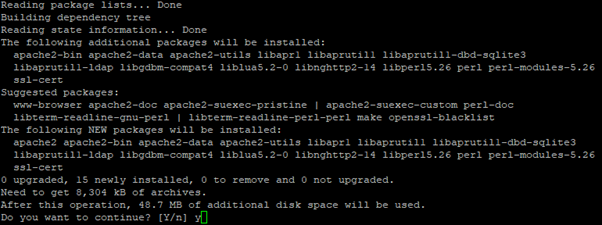
Install apache2
apt install apache2
Install php7.3. By default, version 7.3 will not be detected. The repository PPA must be added. You might need the first command if the “add-apt-repository” is not available.
apt install software-properties-common
add-apt-repository ppa:ondrej/apache2

apt-get install php7.3
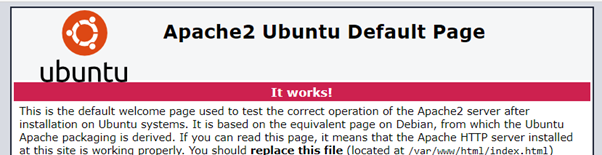
You should see the Apache2 default site if you enter the IP address in your browser:
Now enable the MySQL extension in the PHP config file:
nano /etc/php/7.3/apache2/php.ini
Remove the comment (semicolon) at extension=pdo_mysql. You can search with CTRL+W in Nano GNU editor.
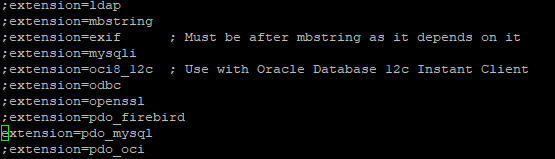
CTRL+X saves the file.
Now install php7.3-mysql
apt-get install php7.3-mysql
The root directory of your WordPress files can be created:
mkdir -p /var/www/website
Make a config file for Apache2 from the default config.
cp /etc/apache2/sites-available/000-default.conf /etc/apache2/sites-available/website.conf
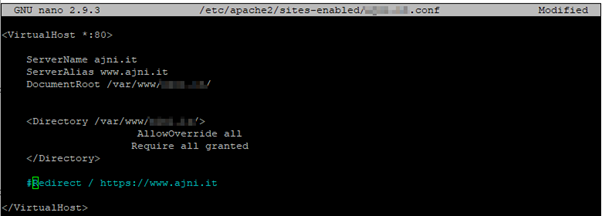
Change the config file. ServerName and ServerAlias should be your site name along with the DocumentRoot.
I use https exclusively, check my tutorial if you want to know how it is done (I highly recommend using https): https://www.ajni.it/2019/06/claiming-a-free-ssl-certificate-for-your-website/
nano /etc/apache2/sites-available/website.conf
Enable the site:
a2ensite website.conf

Reload the service like advised.
service apache2 reload
Download the latest WordPress version from https://wordpress.org/latest.tar.gz.
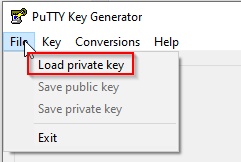
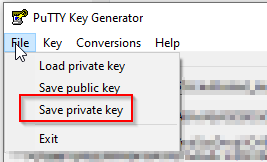
Since I am doing a migration, I just unzipped the files from my backup.
cd /var/www/website
wget https://wordpress.org/latest.tar.gz -O wordpress.tar.zip && tar -xzvf wordpress.tar.zip
mv wordpress/* .
Install MySQL server
apt-get install mysql-server
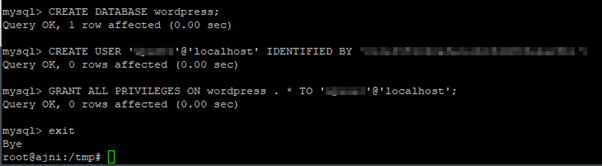
Now create a new database and a user in MySQL. As root you don’t have to enter a password.
mysql -u root -p
CREATE DATABASE wordpress;
CREATE USER ‘someusername’@’localhost’ IDENTIFIED BY ‘somepassword’;
GRANT ALL PRIVILEGES ON wordpress . * TO ‘someusername’@’localhost’;
I have to import the WordPress database from backup:
mysql -u root -D wordpress < db_20-05-2020.db
exit
Now you can access the WordPress through a browser, you will be asked to enter a site name, username with a password, etc.
You might also need to enable URL rewriting for Permalinks.
a2enmod rewrite
Disabling the default site is also a good idea
a2dissite 000-default.conf
There are some other important things you should enable in order to secure your server properly.
nano /etc/apache2/apache2.conf
These lines will not advertise the Apache2 version, enforce TLS 1.2 and strong ciphers, while unsafe ones (like MD5) are discarded.
ServerTokens Prod
SSLProtocol TLSv1.2
SSLHonorCipherOrder On
SSLCipherSuite ECDH+AESGCM:ECDH+CHACHA20:DH+AESGCM:ECDH+AES256:DH+AES256:ECDH+AES128:DH+AES:RSA+AESGCM:RSA+AES:!aNULL:!MD5:!DSS:!AESCCM
service apache2 restart
That’s it. If you have questions, just comment down here!