Today I stumbled upon this very useful site that helps you find very cheap virtual private servers (VPS) around the globe. The public IPv4 address is shared and NAT’d across multiple servers. If that’s no problem for you, the cheapest servers are 0.15€ a month with 128MB RAM and 1 vCPU.
Also, some public IP addresses are blocked in China and/or Russia.
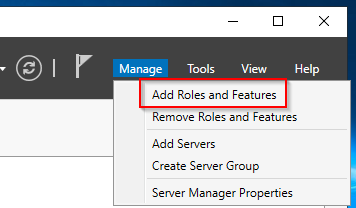
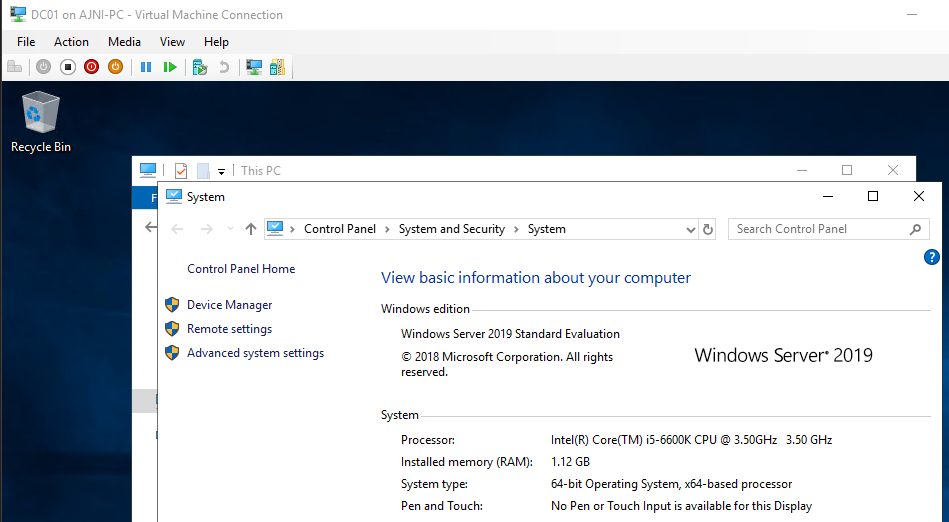
I got tasked with installing a brand new Windows Server 2019 with the Remote Desktop Services (RDS) role. It was a pretty straightforward installation, but minor things might work differently compared to previous versions of Windows Server (I was migrating off Windows Server 2012 R2).
Start by adding the RDS role through Server Manager.
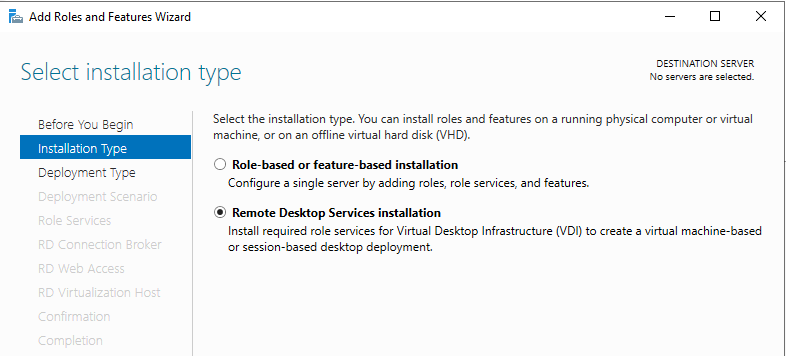
Select the RDS installation:
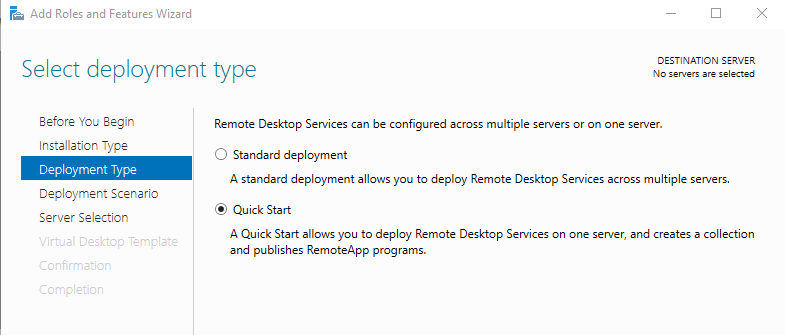
I went for the Quick Start because my deployment is fairly basic.
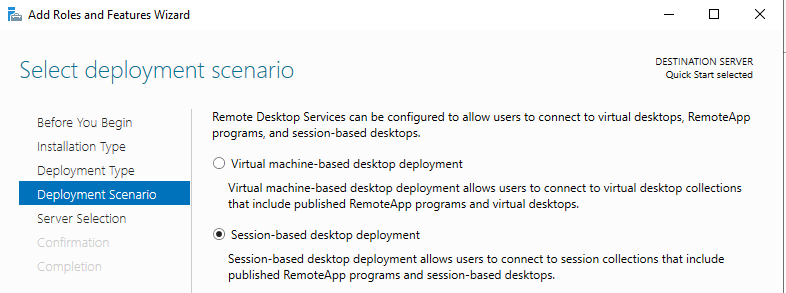
Session-based deployment enables multi-session support on the server.
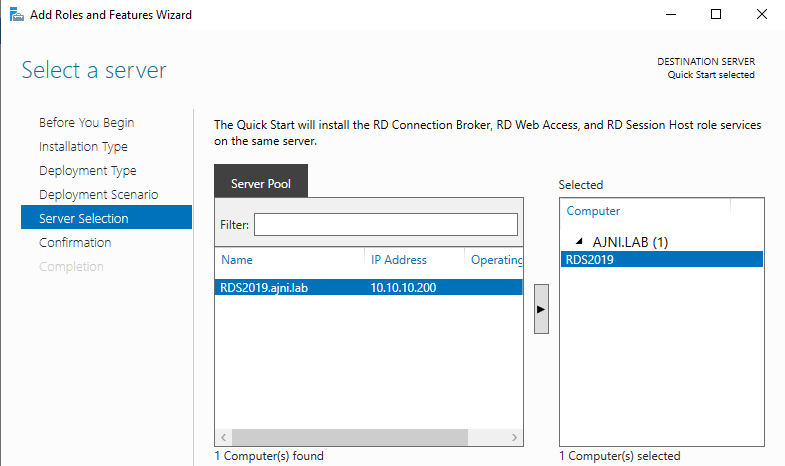
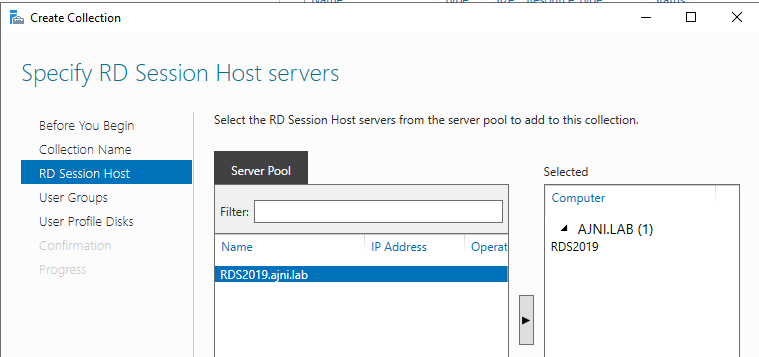
The server should be automatically selected.
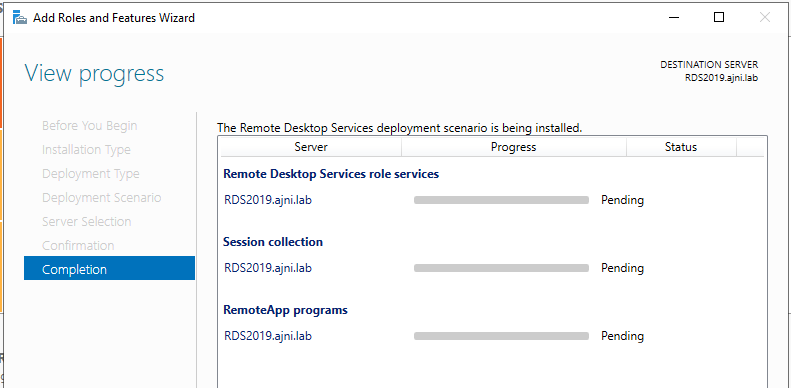
The three roles (RD Connection Broker, RD Web Access and RD Session Host) will be installed.
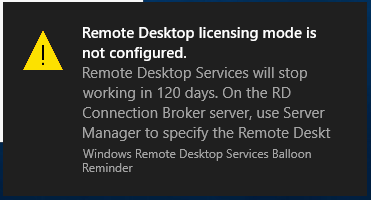
After the installation a license warning will be shown in the Notification Center.
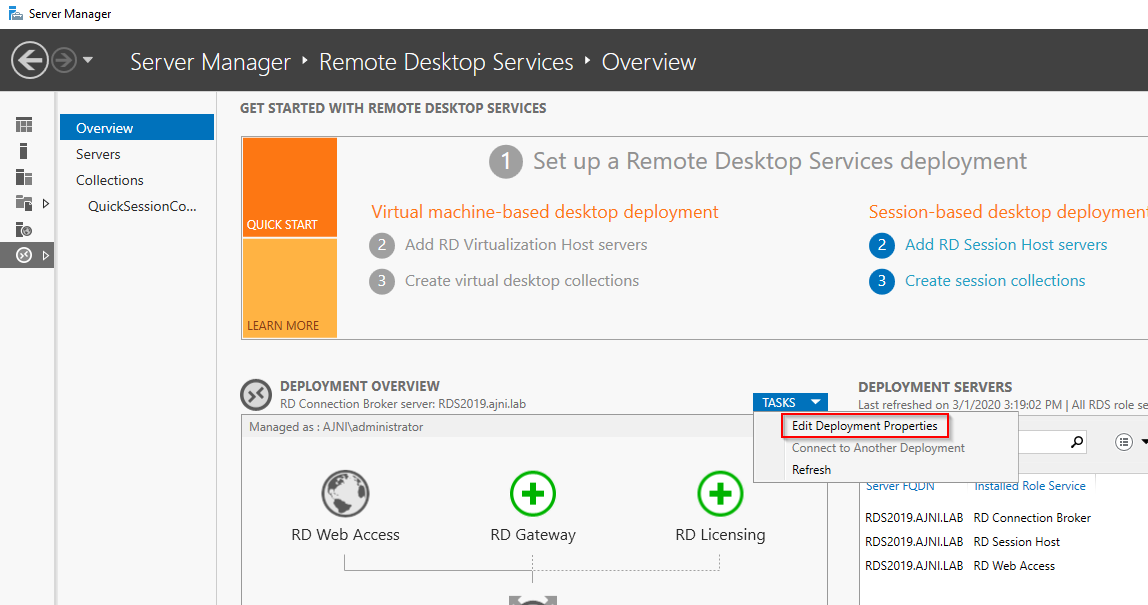
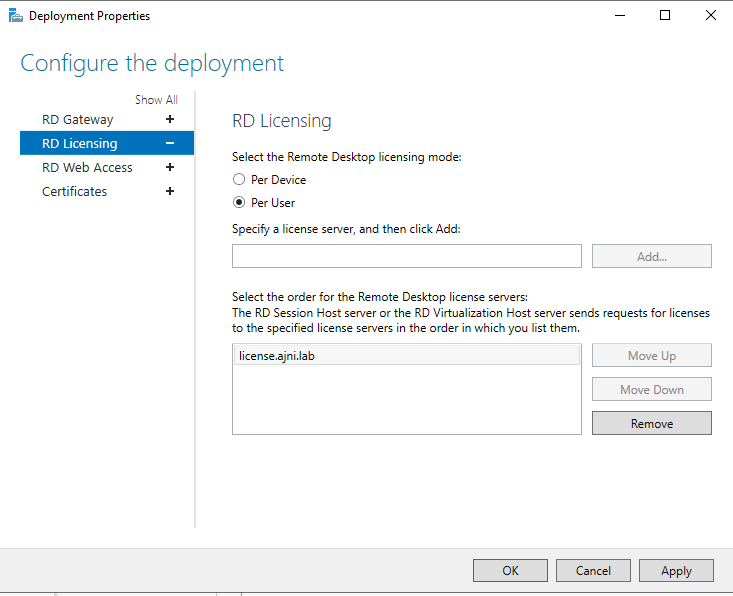
Two things are needed in order for licensing to work properly: The license server and licensing mode. In a production environment, usually there is a separate server hosting the RDS Licensing service.
Make sure you select the server by moving it to the right with the arrow.
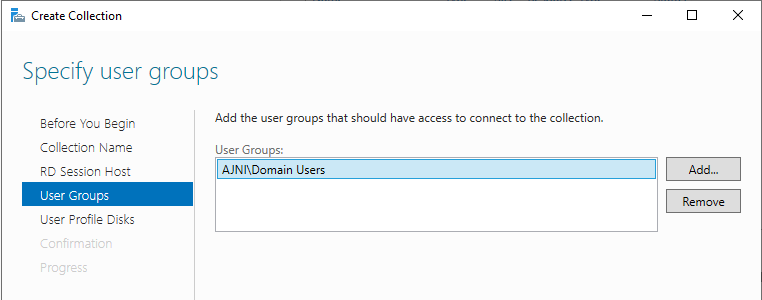
In a production environment a custom group should be used to control the number of permitted users.
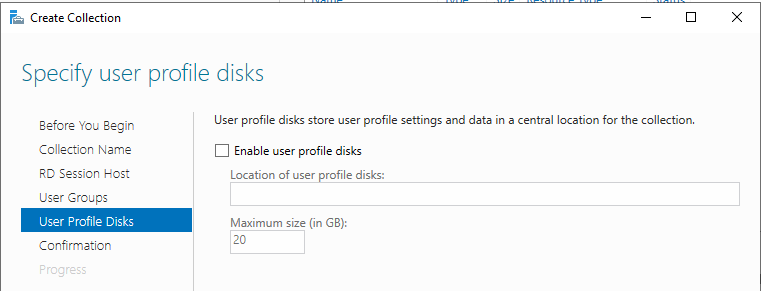
User profile disks were not needed in my environment.
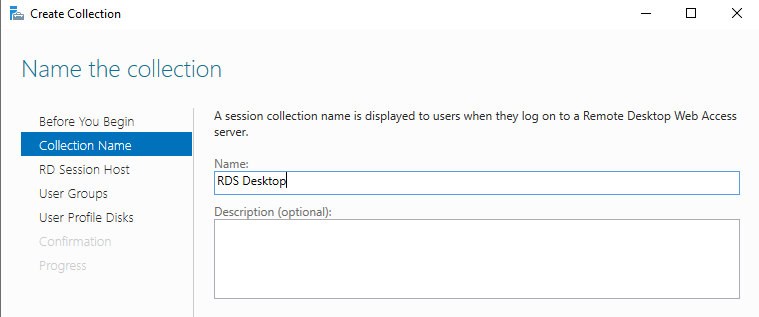
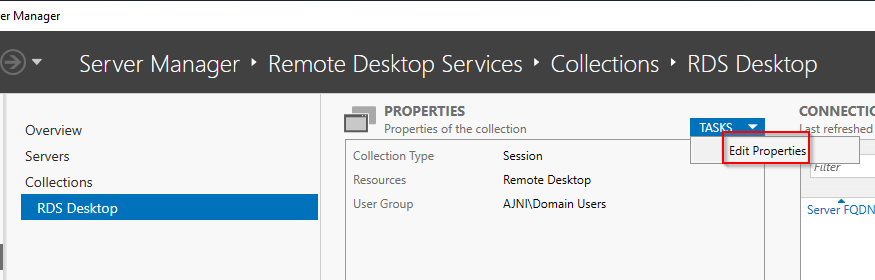
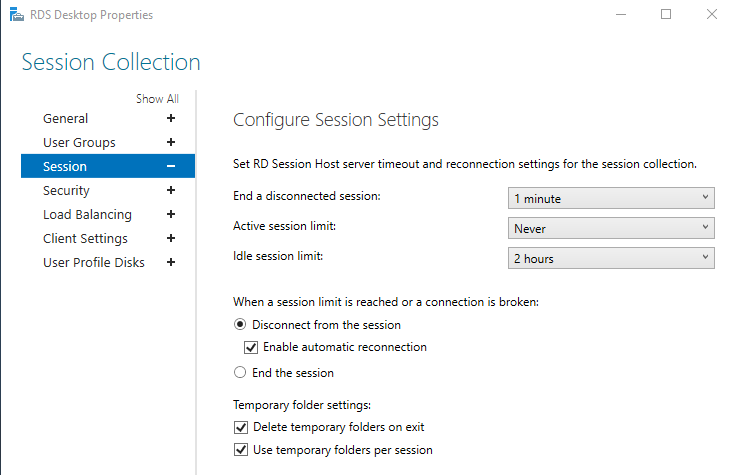
After the creation, there are some things that should be changed in the Collection properties (Server Manager > Remote Desktop Services > Collections > Collection Name):
These are my specific settings, you should change the parameters based on your experience or leave them at their default values.
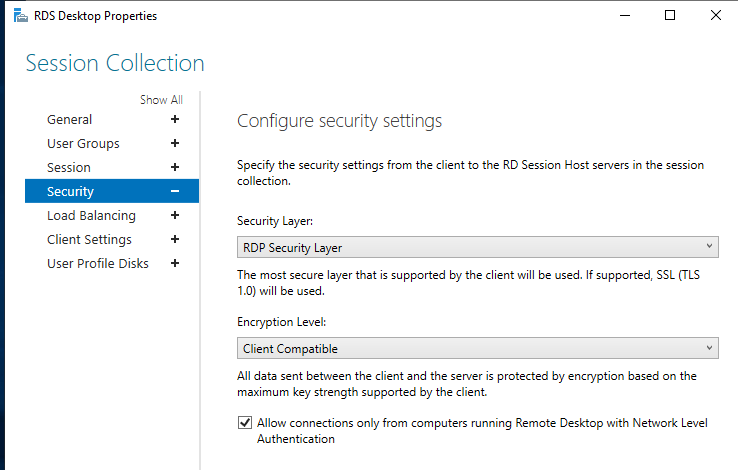
Older clients might have problems with these security settings (like Network Level Authentication – NLA)
A quick post on how to change the Windows display language with Powershell. You might use these commands based on any logic that determines the user’s location/language. For instance, I created a script that gets executed on logon and sets the language based on some criteria (maybe an Active-Directory group or attribute).
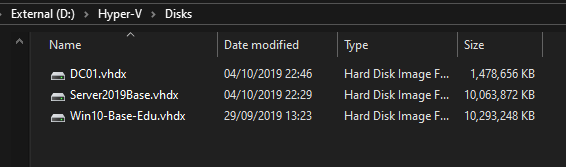
Hyper-V has a very interesting feature that allows to save a lot of space: By creating a golden VHDX Disk with the base operating system, you can then use so called “Differencing” disks, which reference the Master VHDX and only save the changes on their disk.
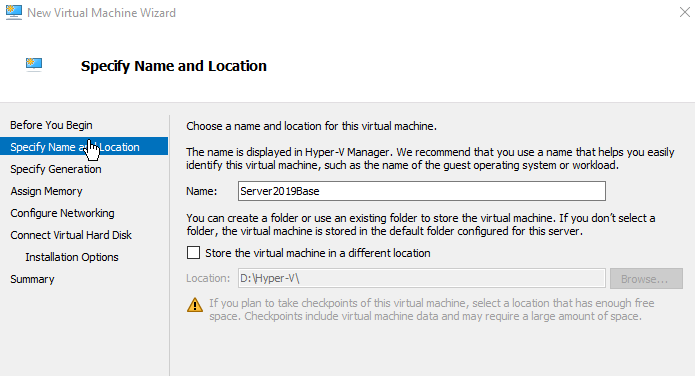
So, first
things first: Just create a normal VM to prepare the golden image for later
use.
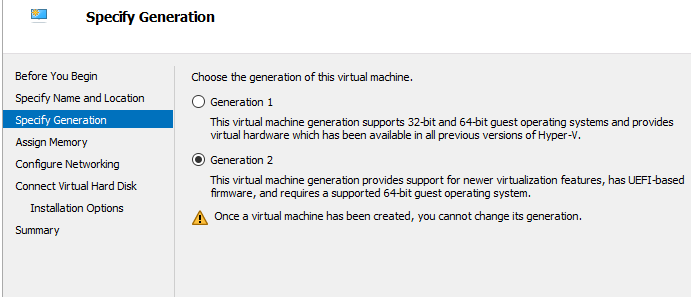
Specify Generation
2
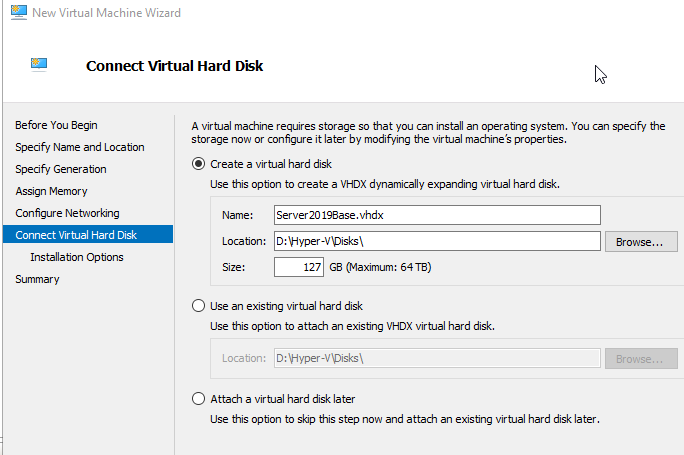
Give the Golden
disk a self-explanatory name
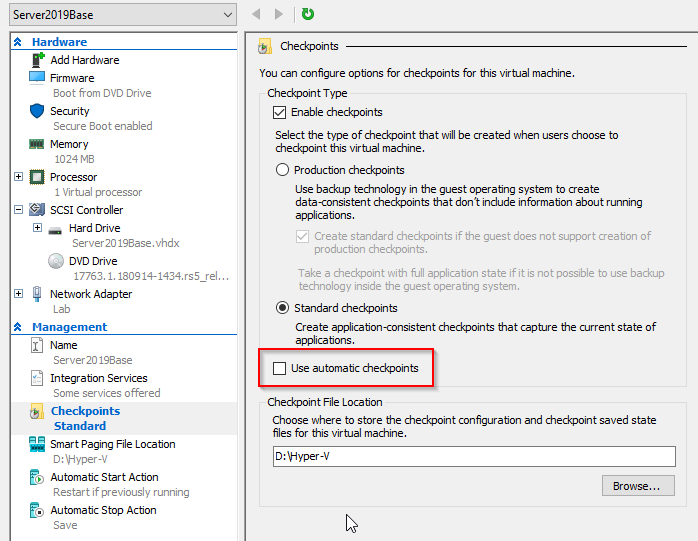
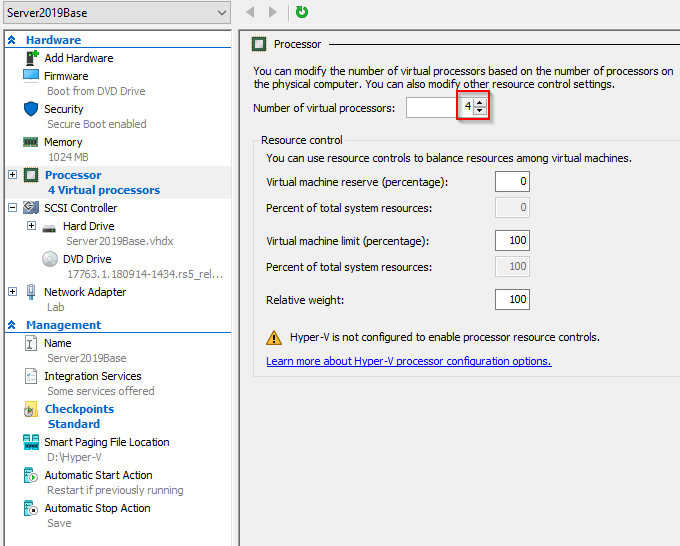
Before
starting the VM, disable automatic checkpoints (in VMware known as Snapshots)
and give it more juice. Do not forget to apply changes:
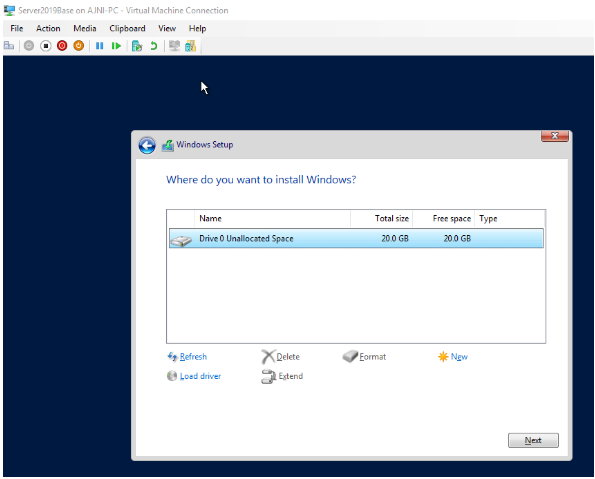
Install the OS (standard procedure)
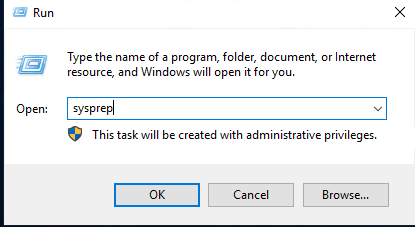
Once the OS
installed and custom settings are made, the machine is ready to be Sysprep’ed.
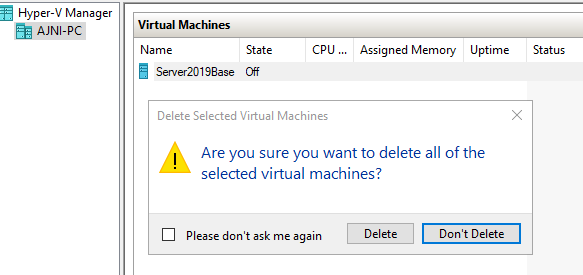
Delete the
VM once stopped, the disk will not be deleted. Then locate the VHDX and set it
into Read-Only mode.
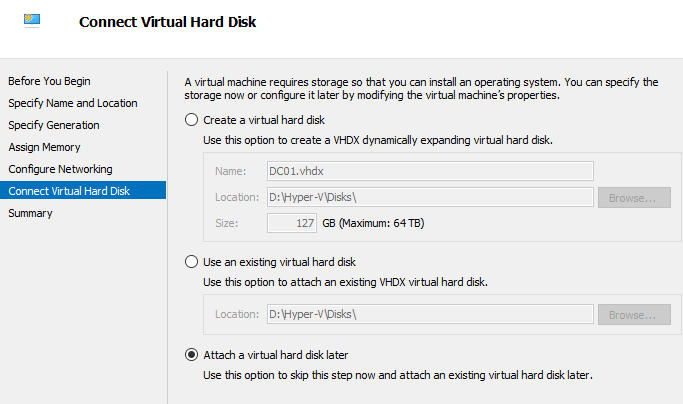
Now a new
VM can be created in Hyper-V with a Differencing disk. Note: In the VM creation
wizard specify “Attach a virtual disk later”:
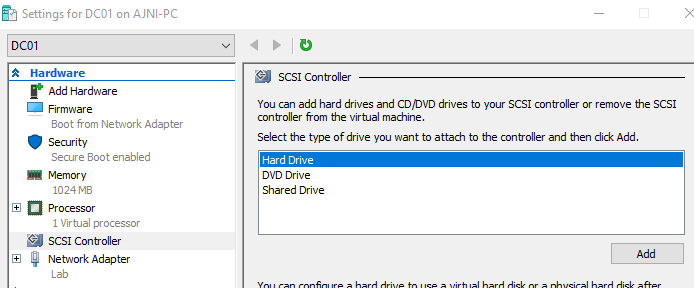
Now in the
VM settings under SCSI Controller add a new Hard Drive:
Select the
last option for Differencing:
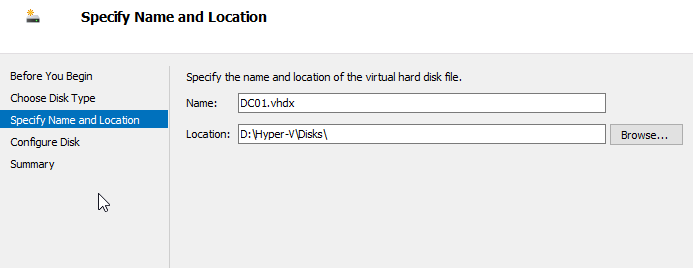
This will
be the new disk name:
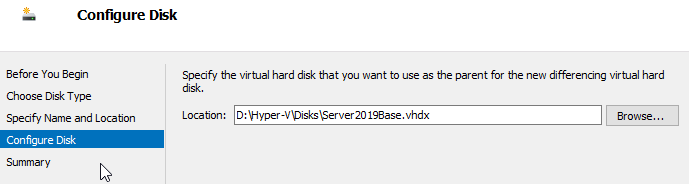
And finally,
the base disk we created previously:
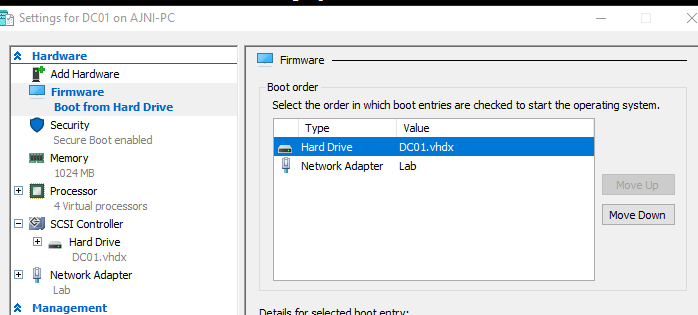
Before powering on the machine make sure the new disk is first in the boot order.
The VM is up and running!
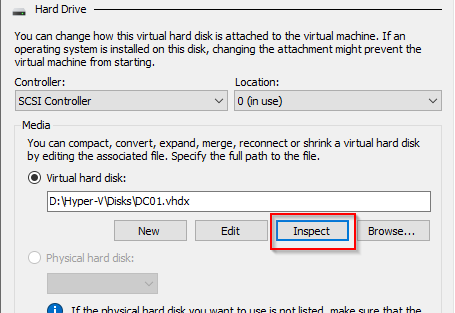
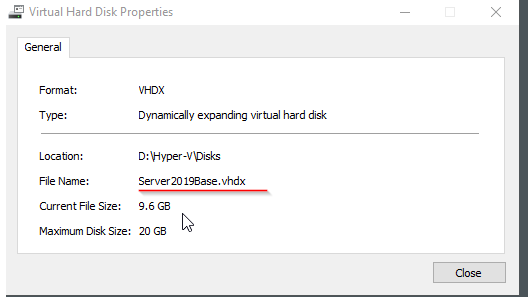
Notice the
size of the new VHDX. Only 1.4 GB!
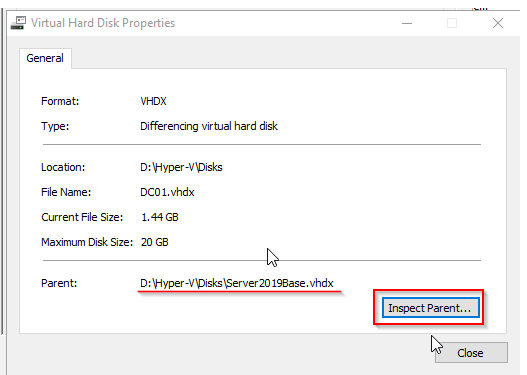
In the VM
settings you can once again inspect the disk and see the relationship with the golden
disk.
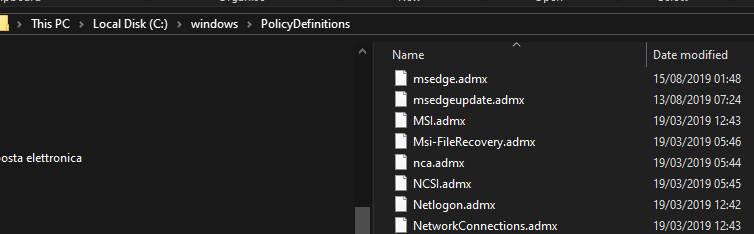
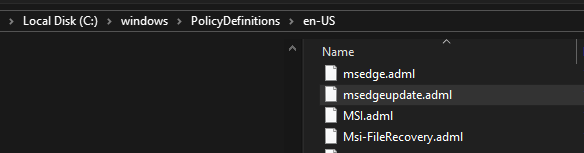
How to import them in the GP Editor? Easy. You can test them on your local machine first. Just copy the files msedge.admx and msedgeupdate.admx to C:\windows\PolicyDefinitions and the language .adml files to C:\windows\PolicyDefinitions\en-US.
In an Enterprise environment you normally move these files into the central group policy store, located under \\domain.com\SYSVOL\domain.com\policies\PolicyDefinitions.
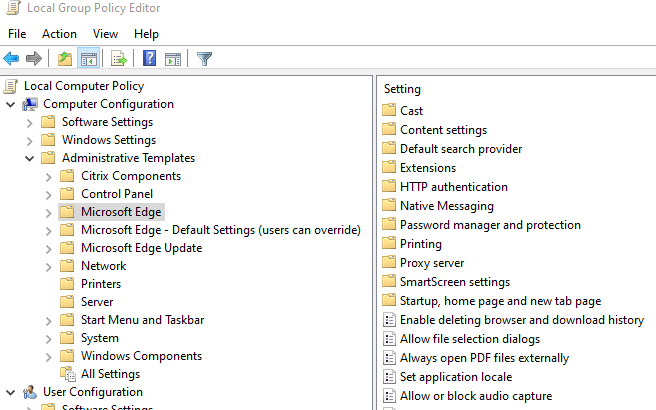
After opening Group Policy Editor (gpedit.msc), under Computer Configuration > Administrative Templates you will see the newly imported Policies:
Now let’s specifically configure the IE Mode feature. For that we need to configure two settings. The first will configure the IE Mode and the second one lists the websites that are affected by IE Mode.
Under Microsoft Edge > Configure Internet Explorer Integration you want to select Internet Explorer Mode in order to integrate IE with the new Edge in case one of the specificied URLs is visited:
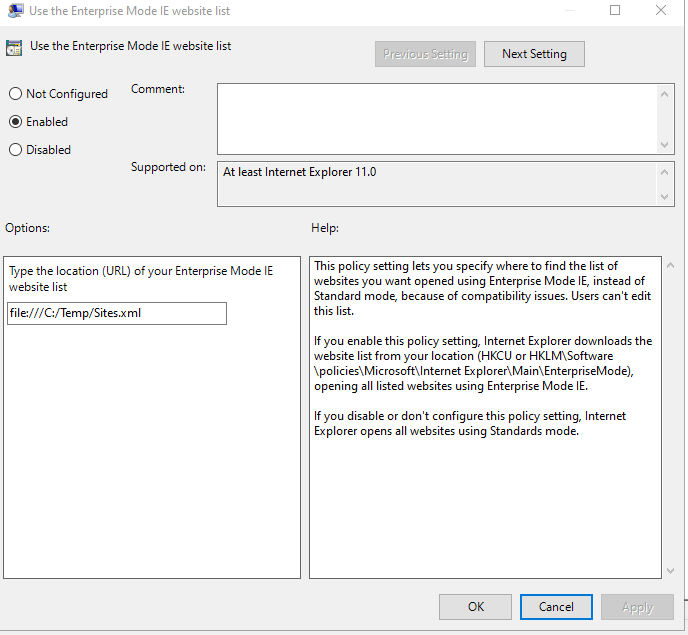
The second one is located under Windows Components > Internet Explorer > Use the Enterprise Mode IE Website List. You can use a file:///C:/local/path.xml, a \\network\path or a https://URL that hosts the XML file. I will be using a local path here.
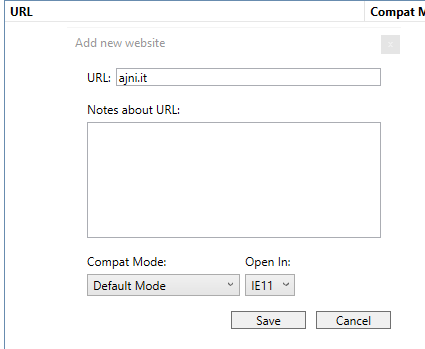
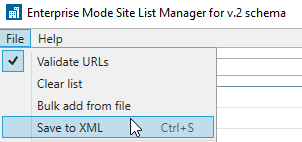
With the MS Tool Enterprise Mode Site List Manager you can easily add or edit the site list. Just add a new URL, select the IE Mode you want to use and save it as an XML.
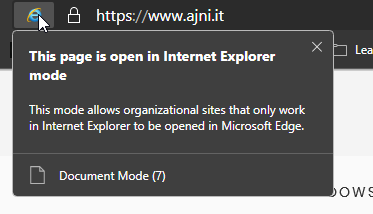
Now do a gpupdate /force, restart Edge and test your site. You will know that the policy has applied if you see the IE icon when you visit a site you have specified in the Enterprise Mode Site List Manager.
If you are having issues getting this to work, make sure your device has the latest Windows Updates installed, like stated in the Microsoft documentation.
Also this feature is not yet supported on Windows Server 2016 and some older versions of Windows 10.
If you have problems with MS Edge on Windows Server 2016 RDS with Citrix XenApp, you will have to exclude the process msedge.exe from Citrix hooks:
HKEY_LOCAL_MACHINE\SOFTWARE\Citrix\CtxHook
REG_SZ “ExcludedImageNames”
Value “msedge.exe”