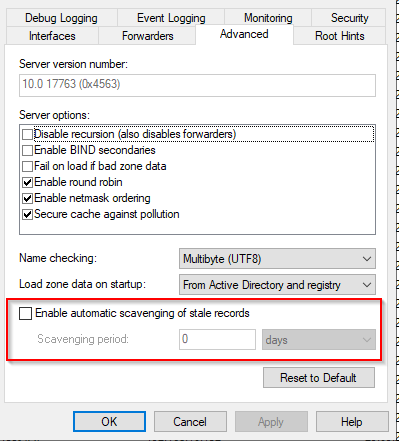
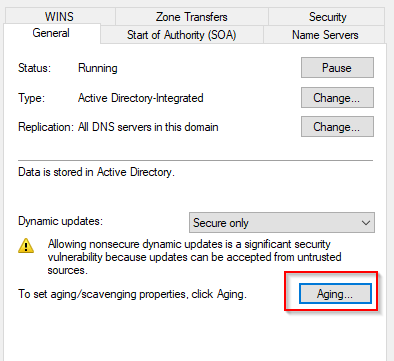
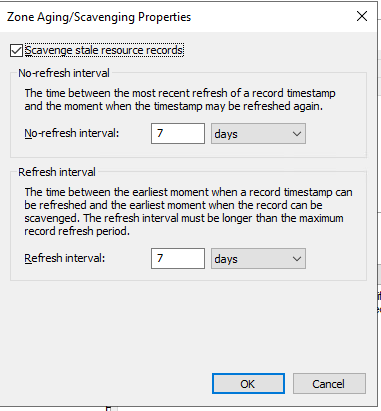
In an Active Directory environment, it is best practice to enable DNS Aging and Scavenging. Aging and Scavenging will ensure that old DNS entries (such as decommissioned servers or computers) are deleted regularly. You will find this option by opening the properties in DNS Manager under the advanced tab or in the properties of a Forward Lookup Zone.
If you are having performance issues with your brand new File Server running on Windows Server 2019, particularly when working with small files over a network share, these PowerShell commands might save hours of troubleshooting.
Alternatively, you can add the DWORD ZeroConfigExchangeOnce 1 key to automate the creation of the first profile. Successful profiles have to be created manually.
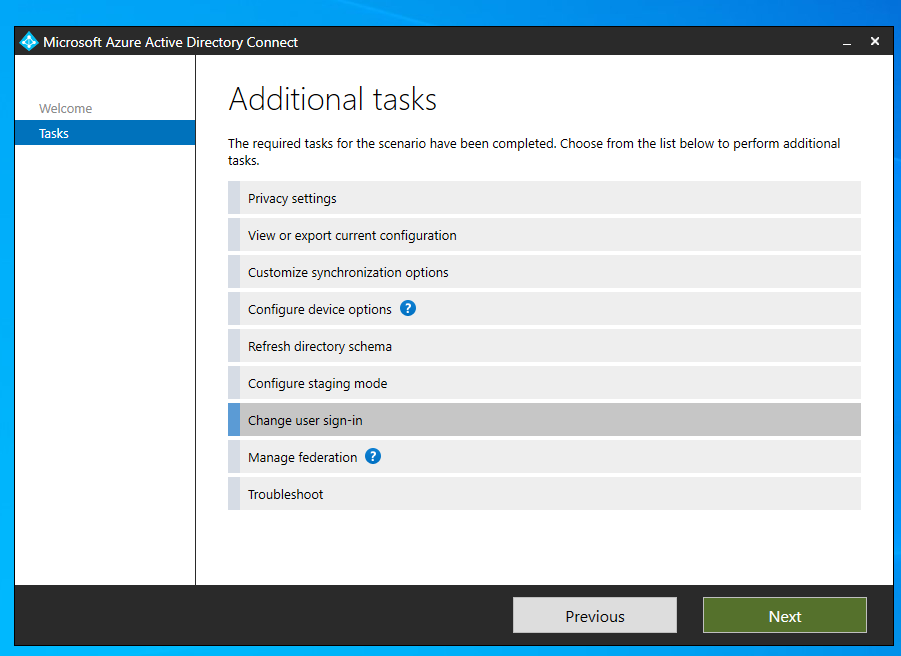
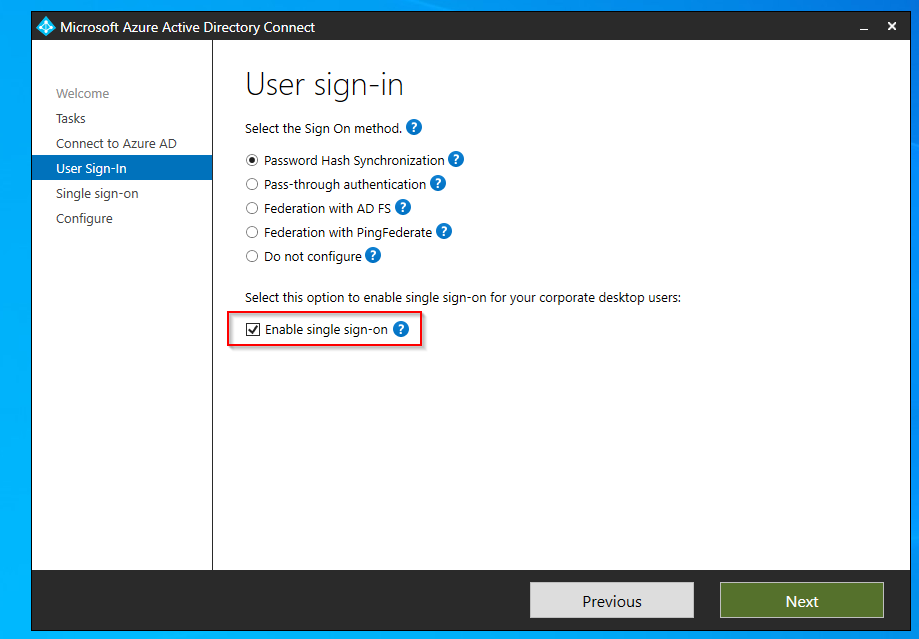
When syncing local AD users to Azure AD, you can configure Seamless Sign-On to automatically login to Microsoft 365 Apps like Sharepoint Online, OneDrive, or Exchange Online. This is very easy to do and will make logins for users less painful.
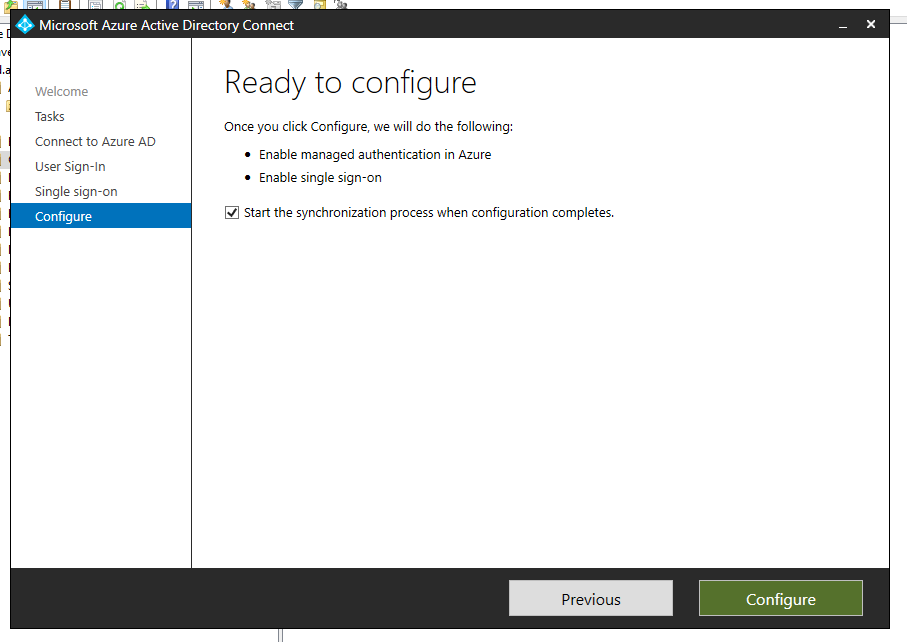
When the pre-checks is complete, hit configure and exit.
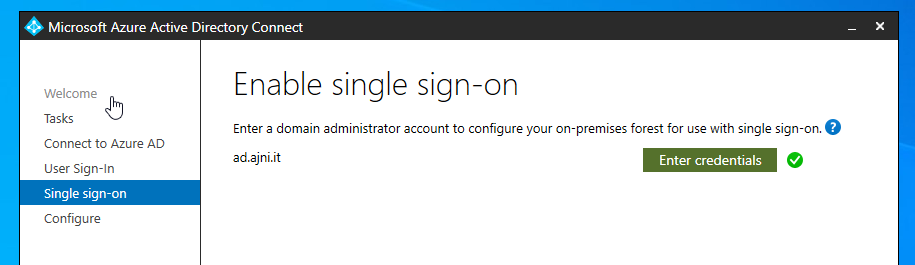
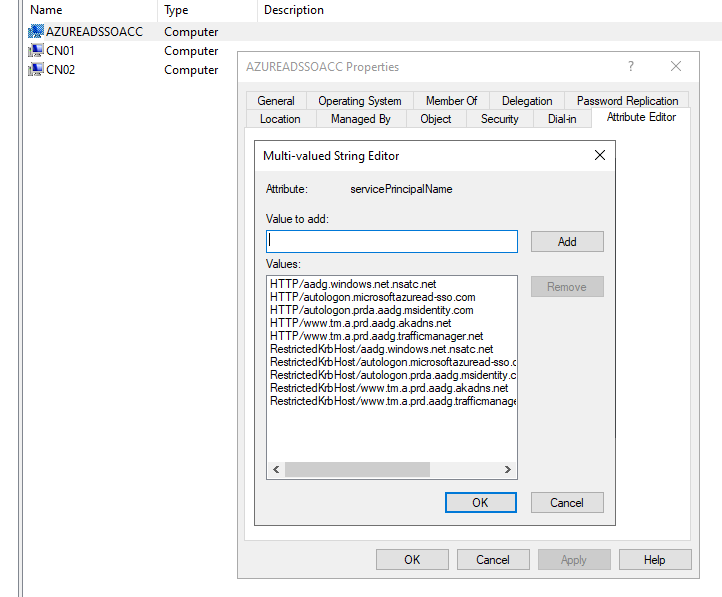
A Computer Account named AZUREADSSOACC will be created in Active Directory which allows the authentication validation between Azure AD and local Active Directory. The Kerberos decryption key is saved in the cloud and should be changed regularly. You can see that on the Computer account, service principal names are configured
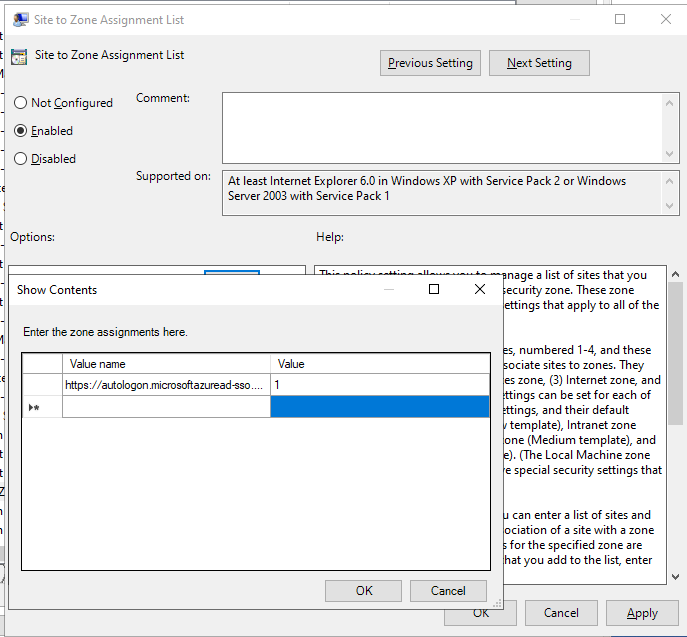
Lastly, you can roll out the feature with Group Policy. The URL https://autologon.microsoftazuread-sso.com must be added to the intranet zone list, which allows the browser to send Kerberos tickets to that site.
The GPO can be found under User Configuration > Policies > Administrative Templates > Windows Components > Internet Explorer > Internet Control Panel > Security Page > Site to Zone Assignment List.
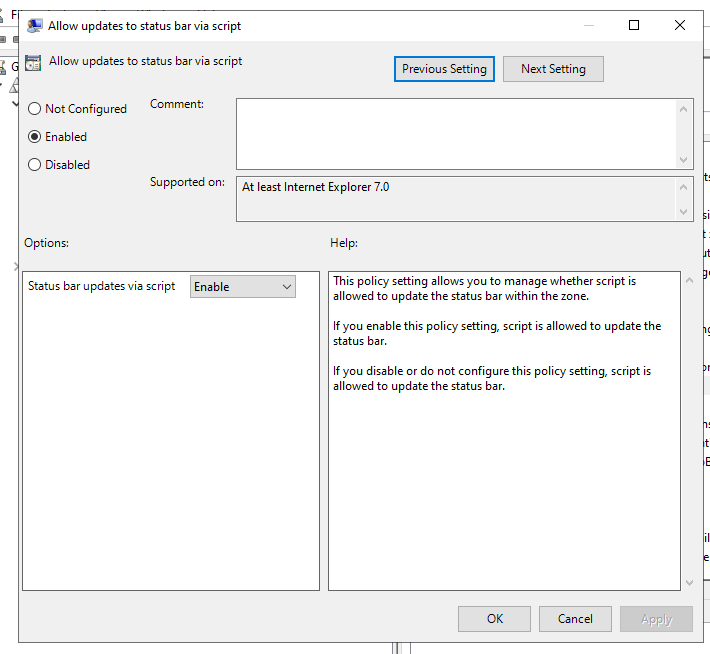
Status bar updates via script must be also enabled. This GPO is located under User Configuration > Policies > Administrative Templates > Windows Components > Internet Explorer > Internet Control Panel > Security Page > Intranet Zone > Allow updates to status bar via script.
You can test the feature by opening portal.office.com. After entering the username, login should be done automatically without needing to insert a password.
The first step in the journey to the cloud is to install and configure Azure AD Connect. This will synchronize users in local Active Directory to Azure AD and will allow you to use cloud services like OneDrive For Business, Sharepoint Online, Exchange Online, or Microsoft Teams.
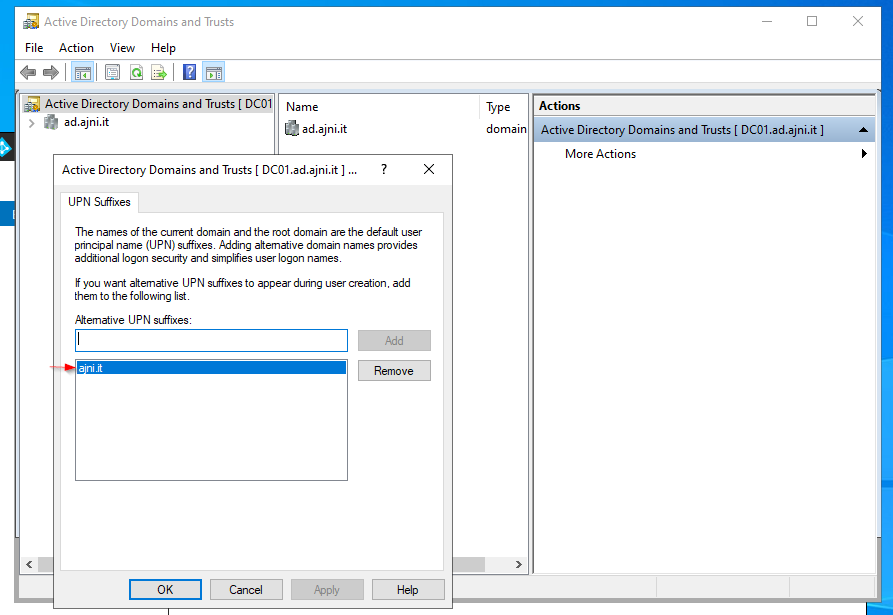
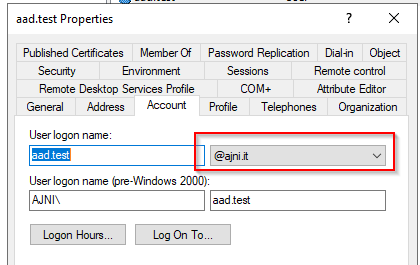
Before installing the service itself, we have to set an alternate UPN suffix as in Azure AD. In Active Directory Domains and Trusts add a new UPN suffix. The suffix should be equal to the custom domain name in Azure AD.
Users synchronizing to Azure AD should have that UPN suffix set:
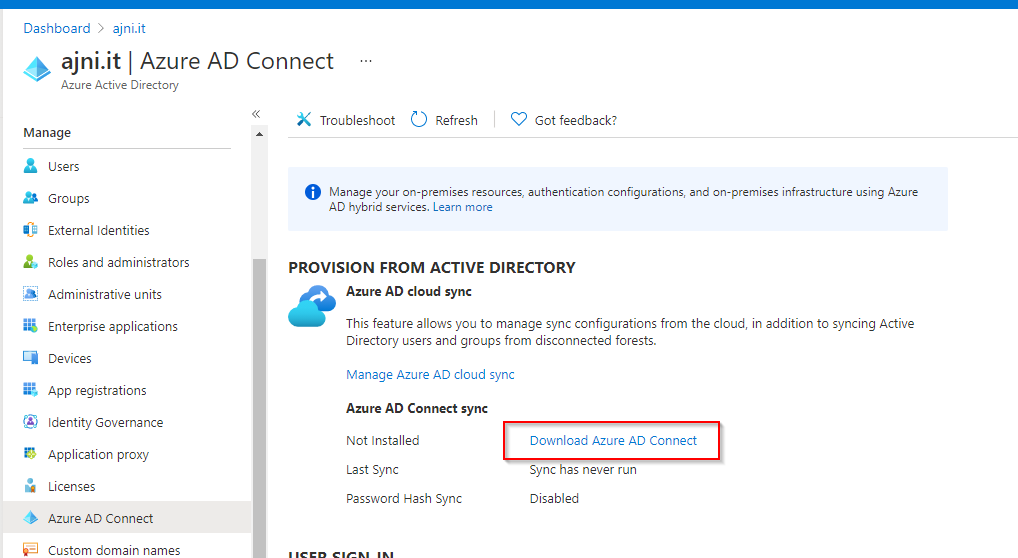
In the Azure AD panel, select Azure AD Connect and then “Download Azure AD Connect”
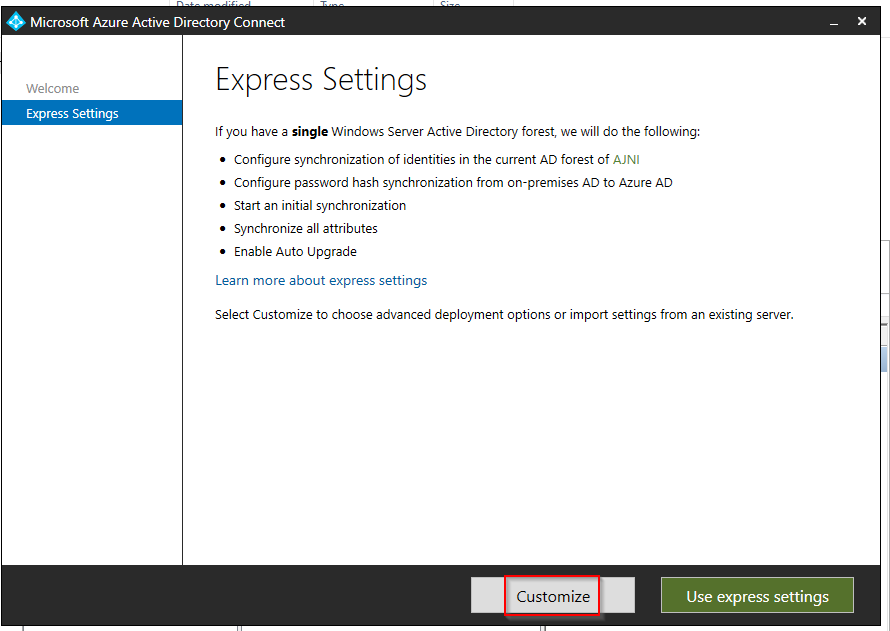
Start the installer and select “Customize”
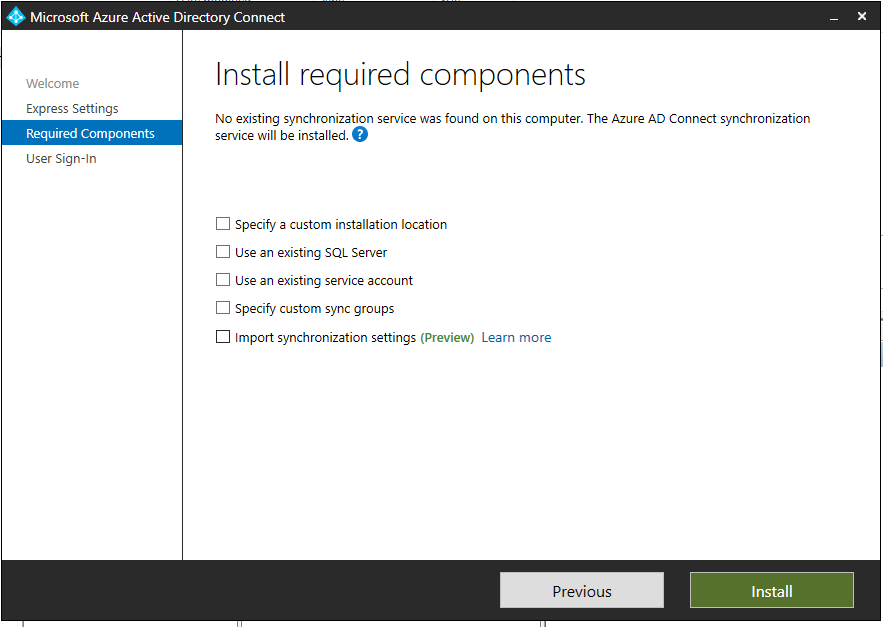
Hit install
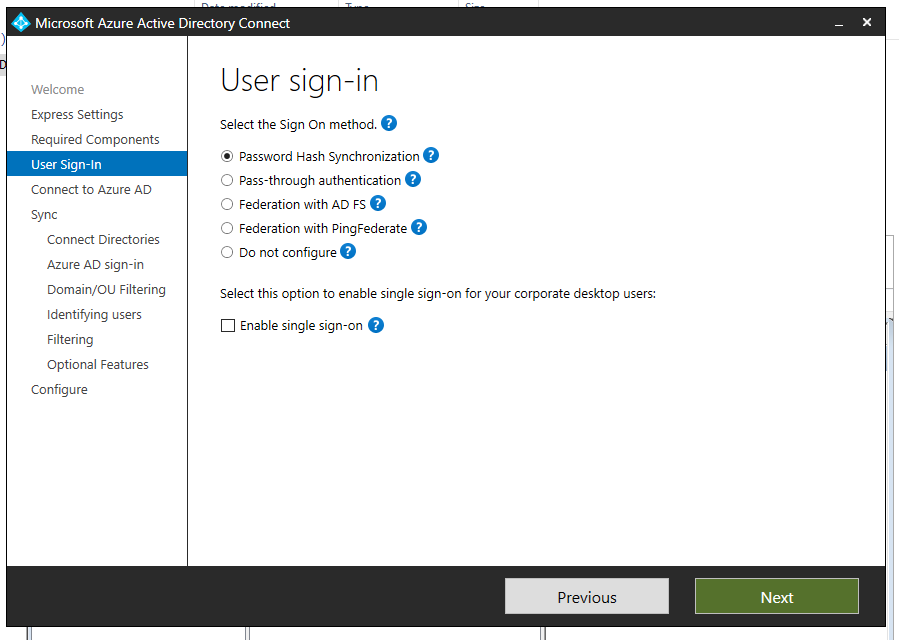
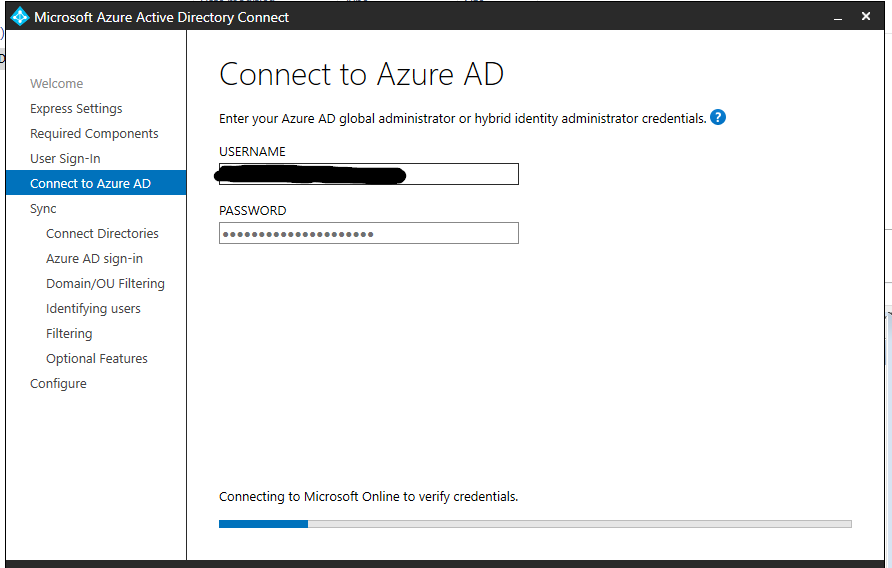
Select Password Hash Synchronization and login with your Azure AD global admin
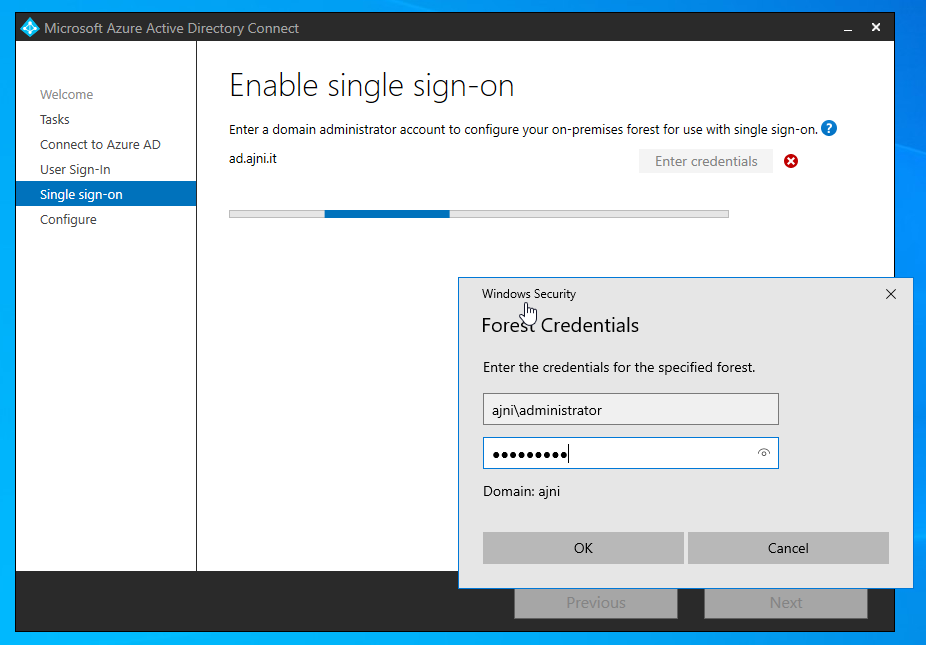
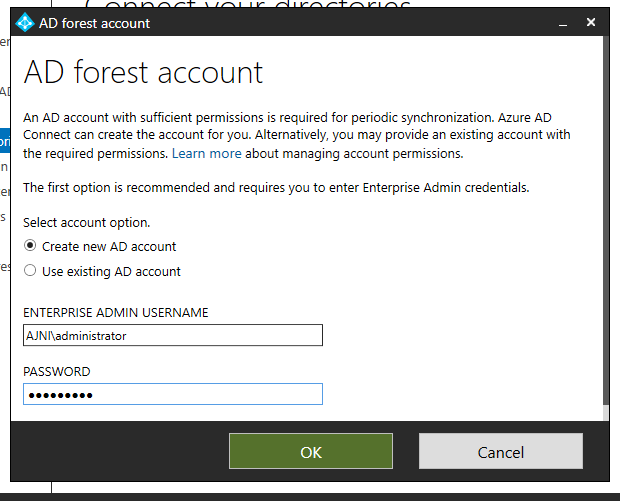
Select Create new AD Account and enter Enterprise Admin credentials. The tool will automatically set the correct permission on the OU without adding Domain Admin rights to the user.
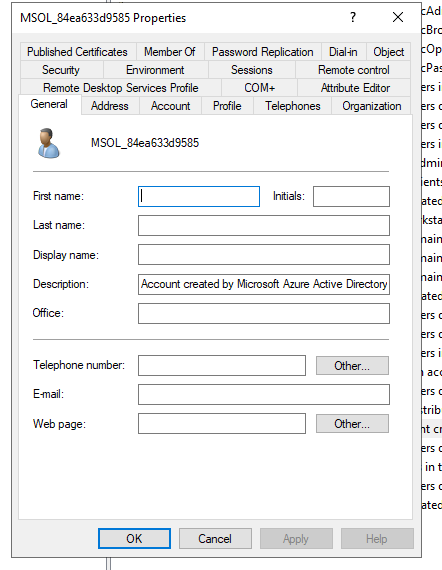
You will notice that a new user named MSOL_xxx has been created.
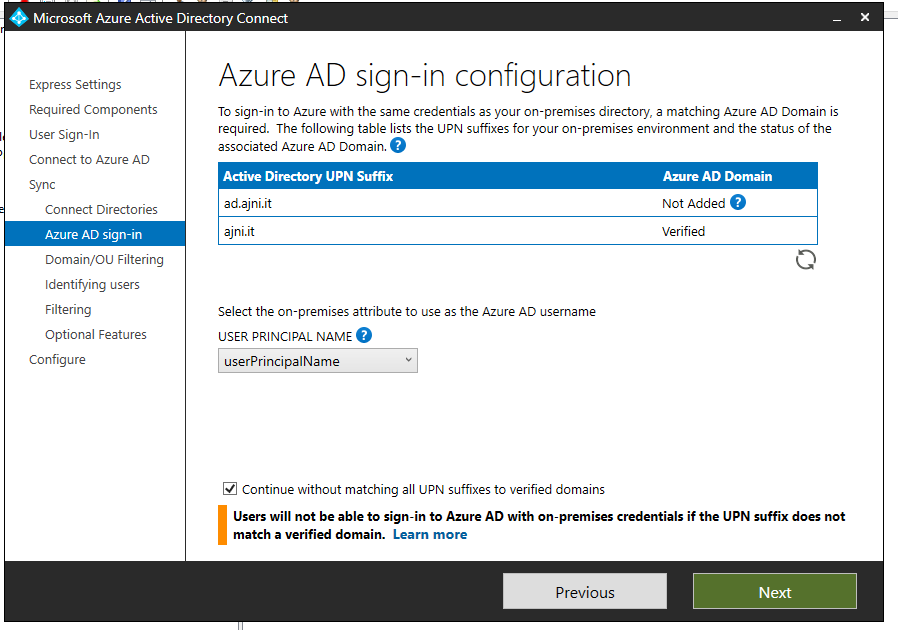
This is just a warning. We already set the correct UPN suffix.
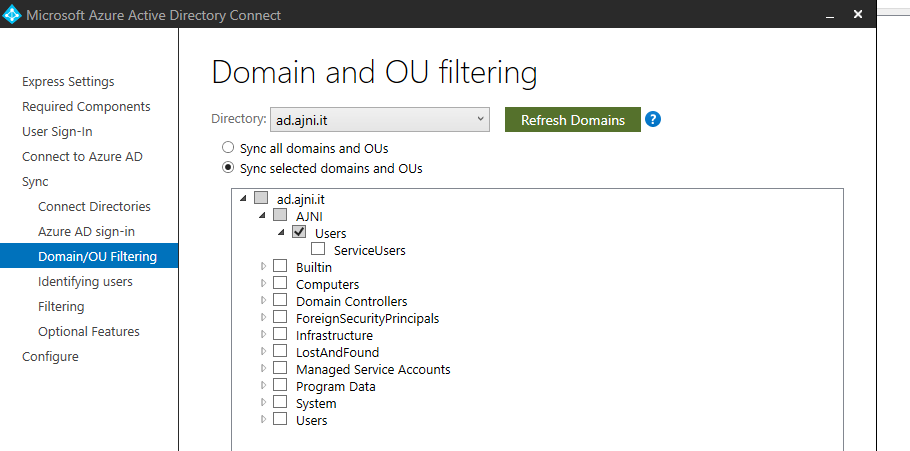
Deselect the top checkbox and select the OU containing AD Users. Service users should not be synchronized.
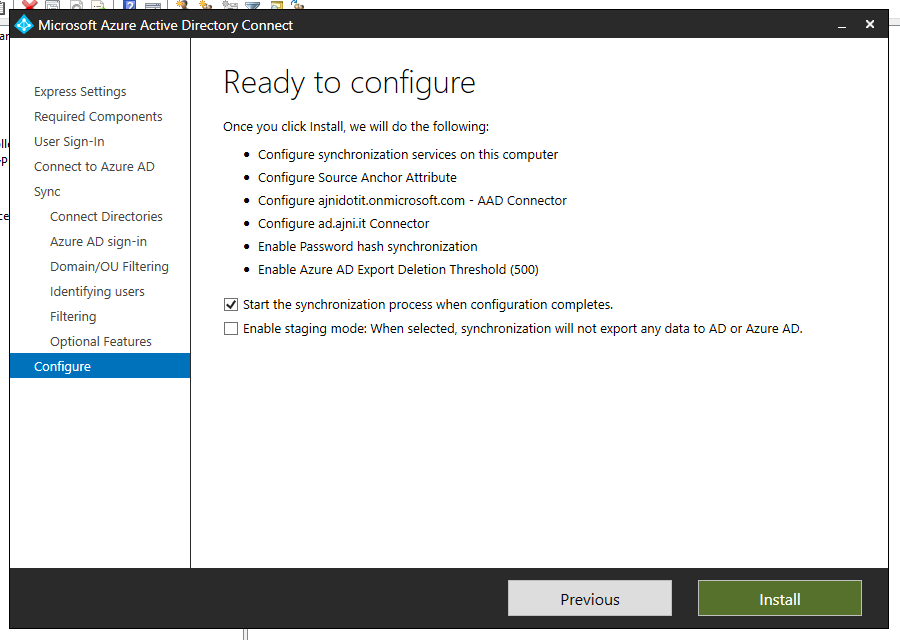
Leave everything else on default settings and then hit install.
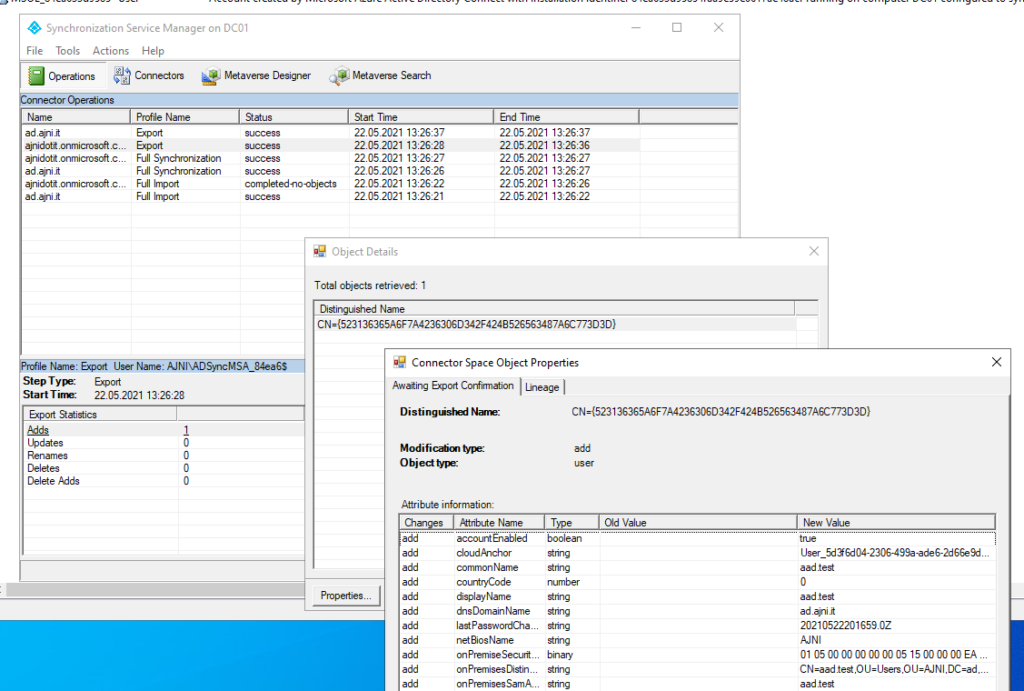
With the synchronization service you can check what objects have been synced and the last time a sync ran.
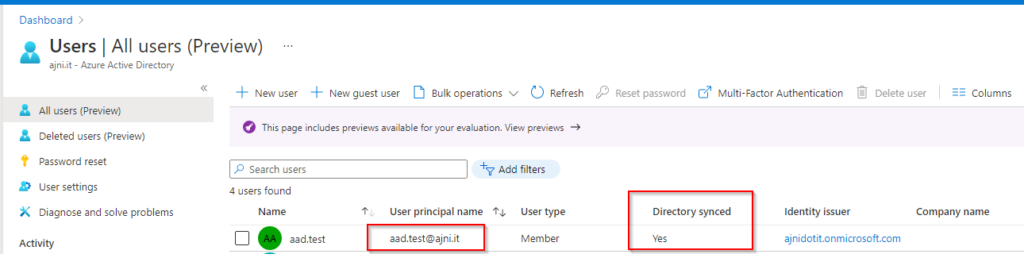
In Azure AD the synced user should show up. You can see that the correct UPN has been configured on the user.
If you want to manually start AD Sync, in Windows PowerShell enter this command: