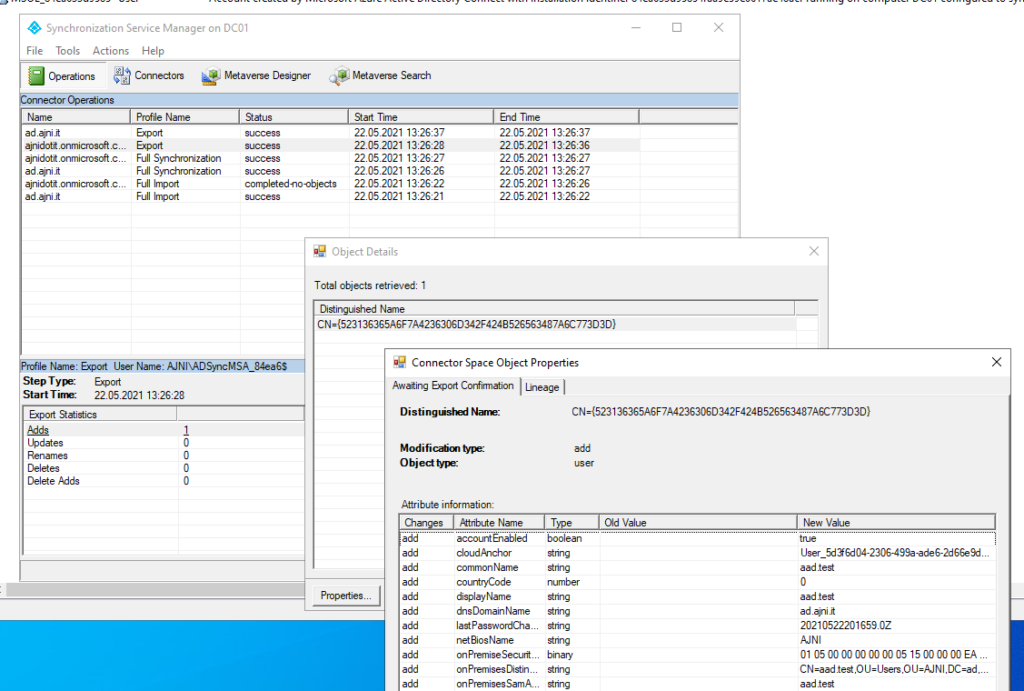
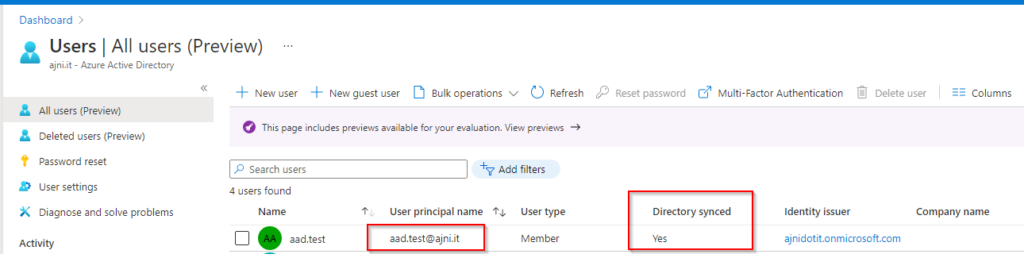
When syncing local AD users to Azure AD, you can configure Seamless Sign-On to automatically login to Microsoft 365 Apps like Sharepoint Online, OneDrive, or Exchange Online. This is very easy to do and will make logins for users less painful.
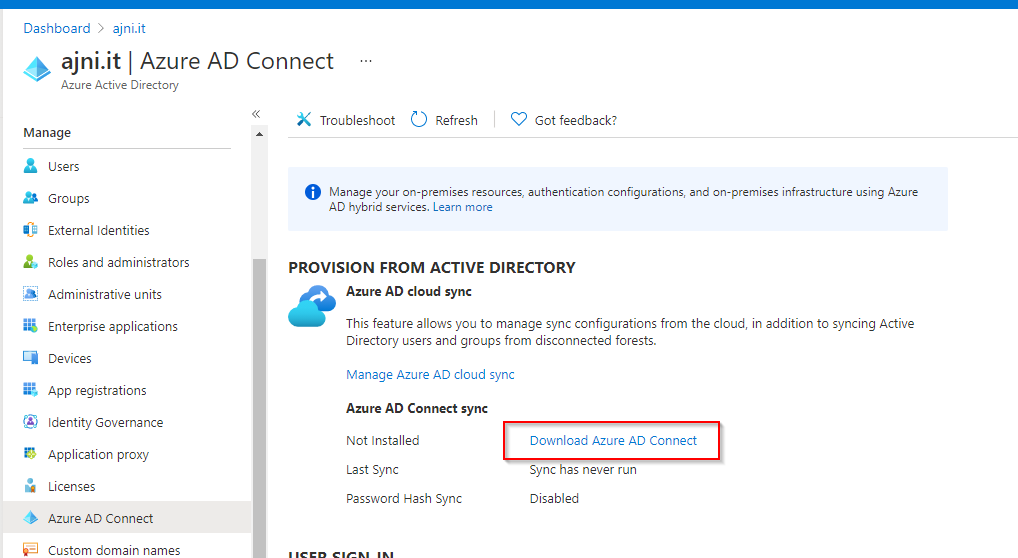
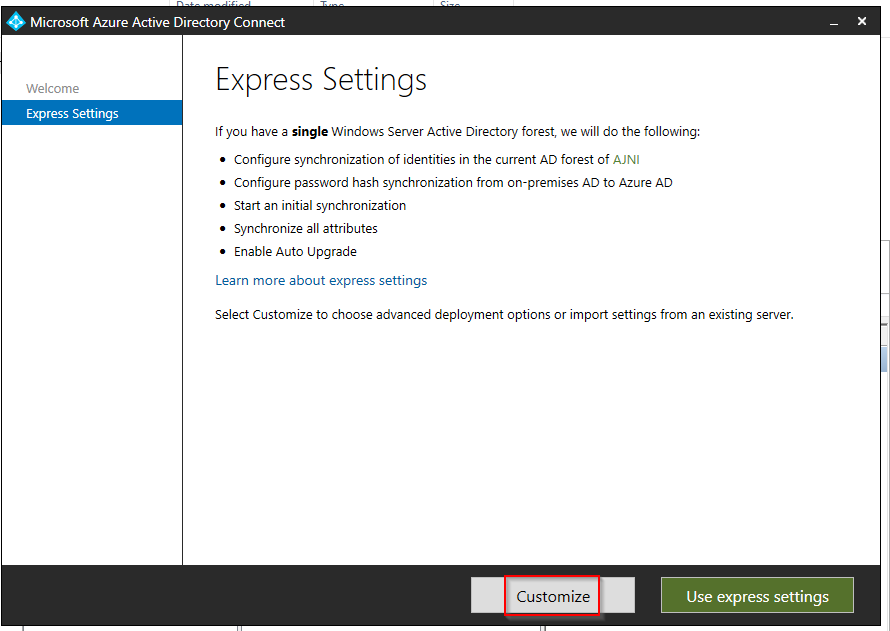
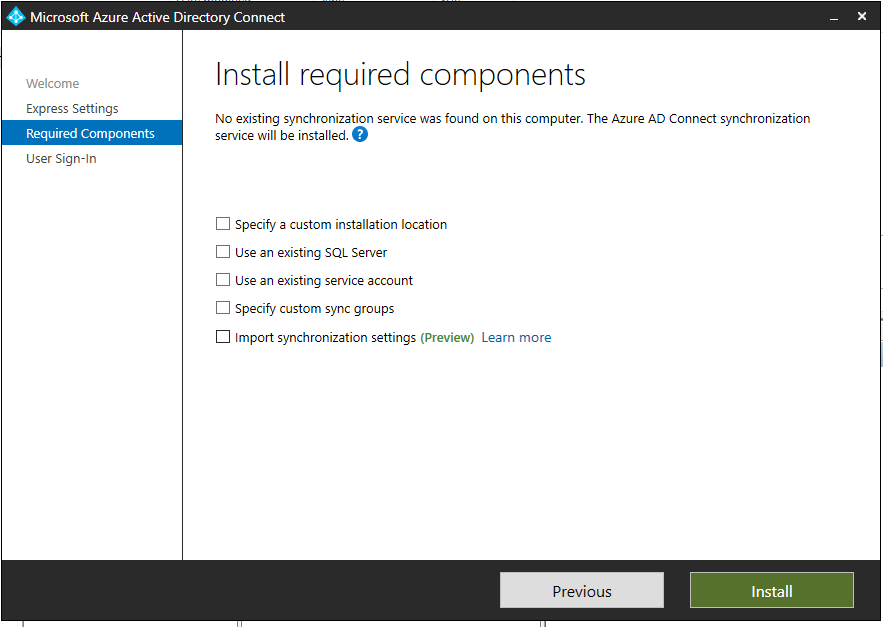
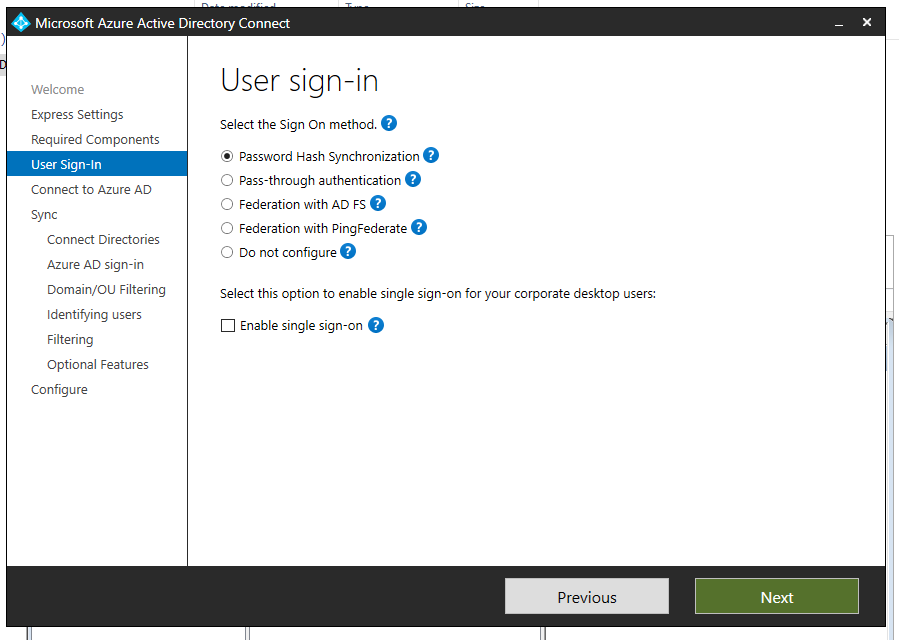
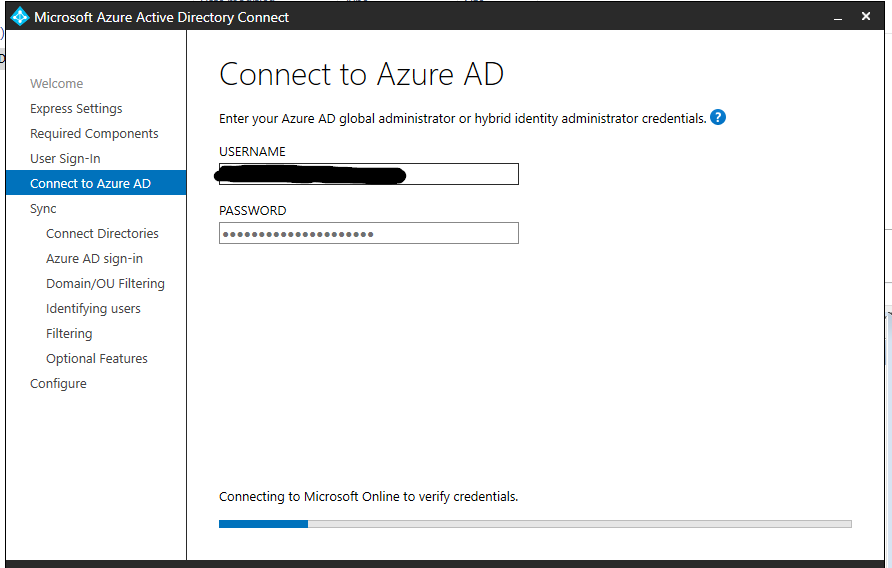
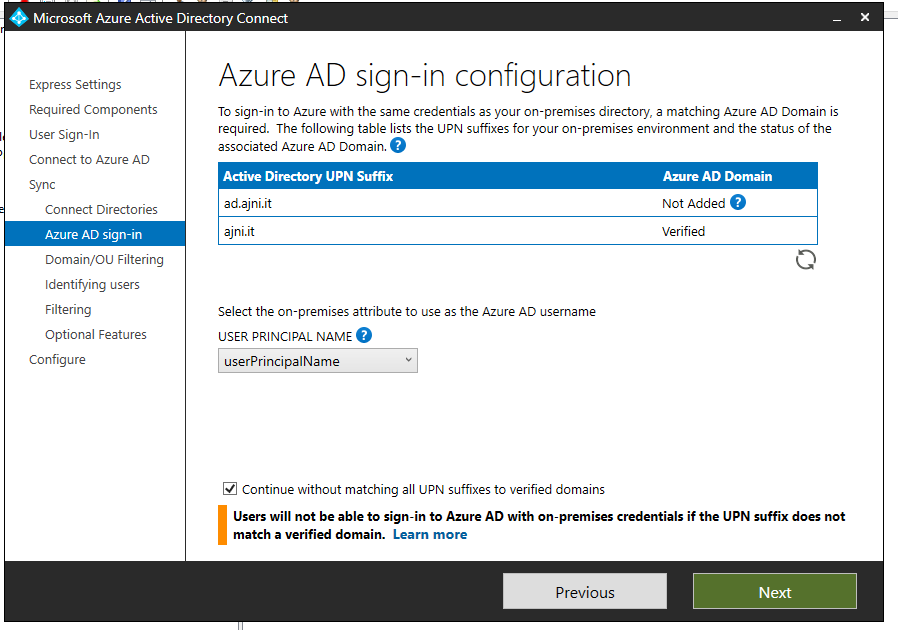
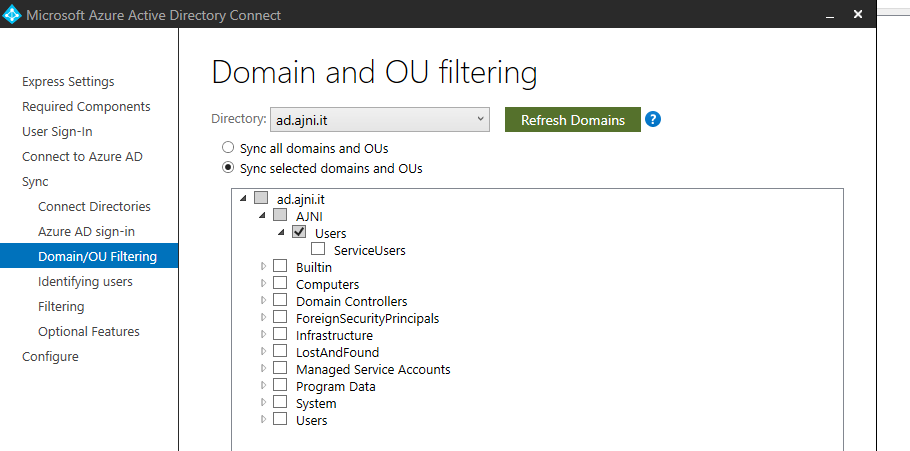
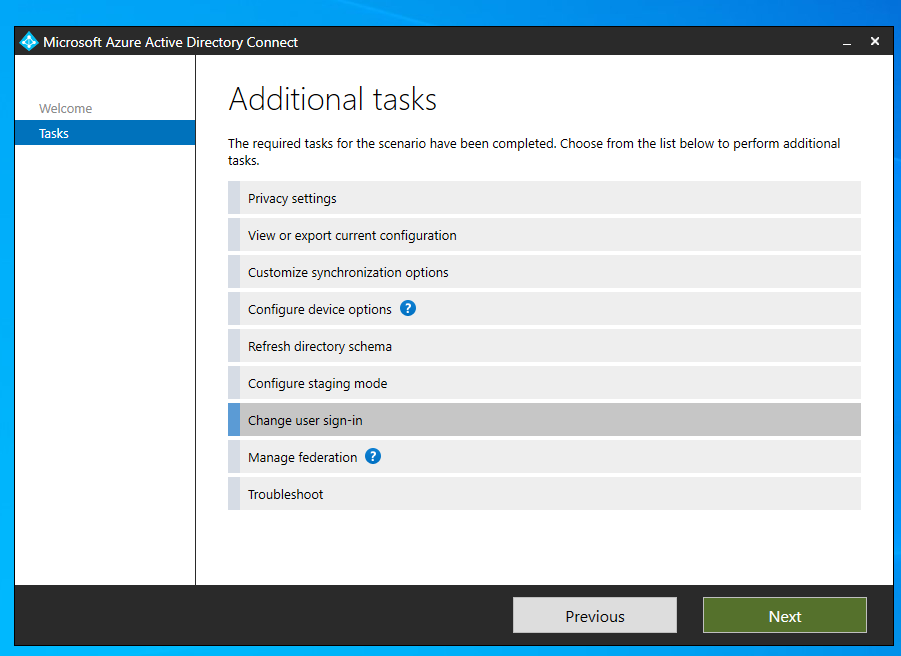
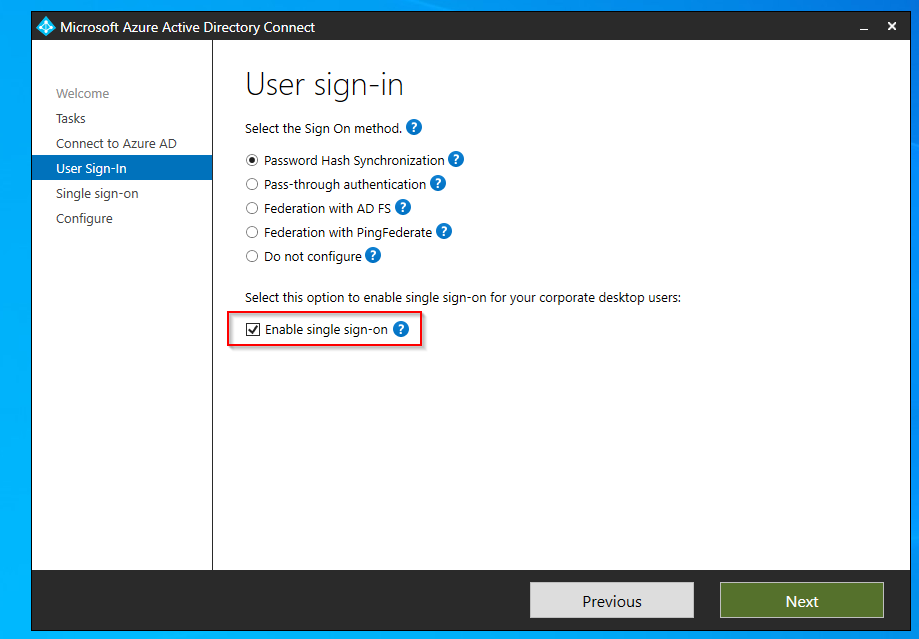
Assuming Azure AD Connect is already set up with Pass-through authentication (see https://www.ajni.it/2021/05/configuring-azure-ad-connect-for-user-synchronization/), just open Azure AD Connect and then hit “change user sign-in” and log in with an Azure AD Global admin. After that, select “Enable single sign-on”.
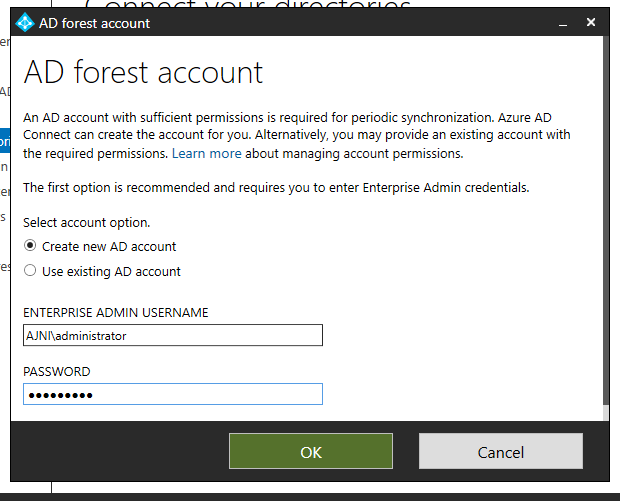
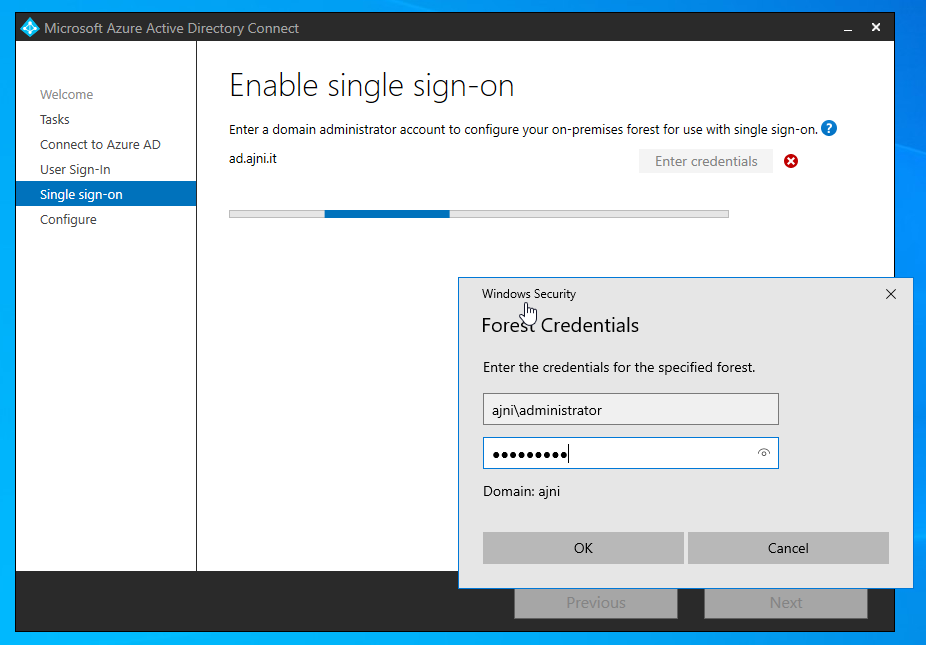
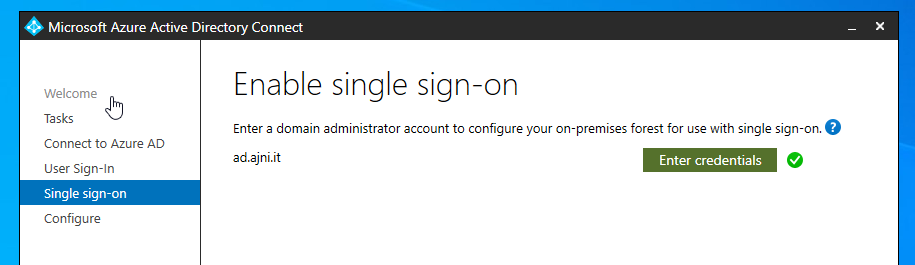
Enter Domain Admin credentials.
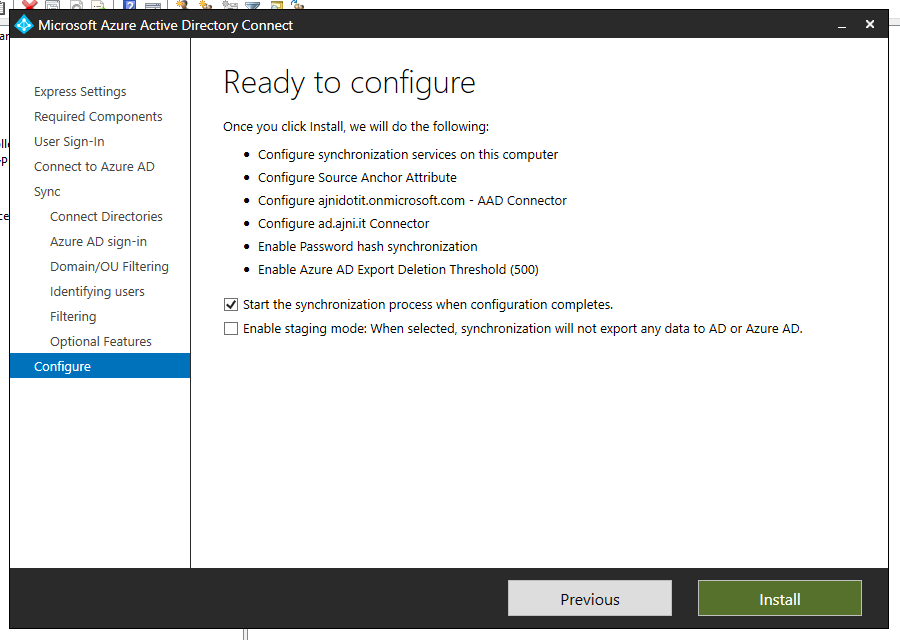
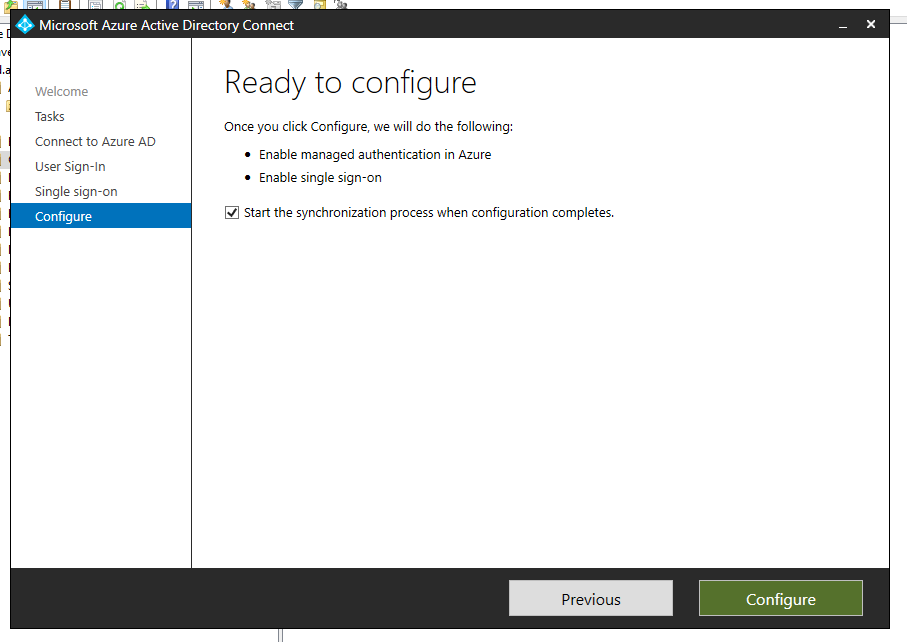
When the pre-checks is complete, hit configure and exit.
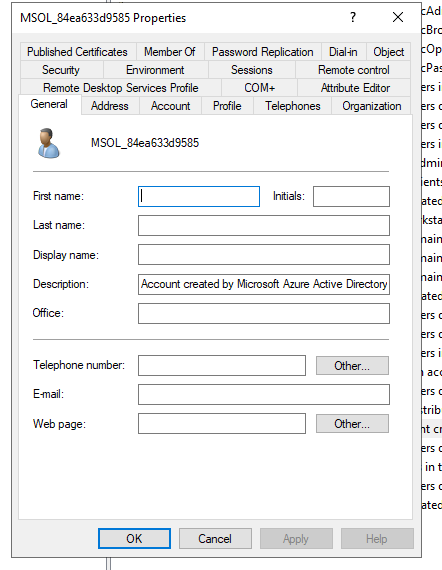
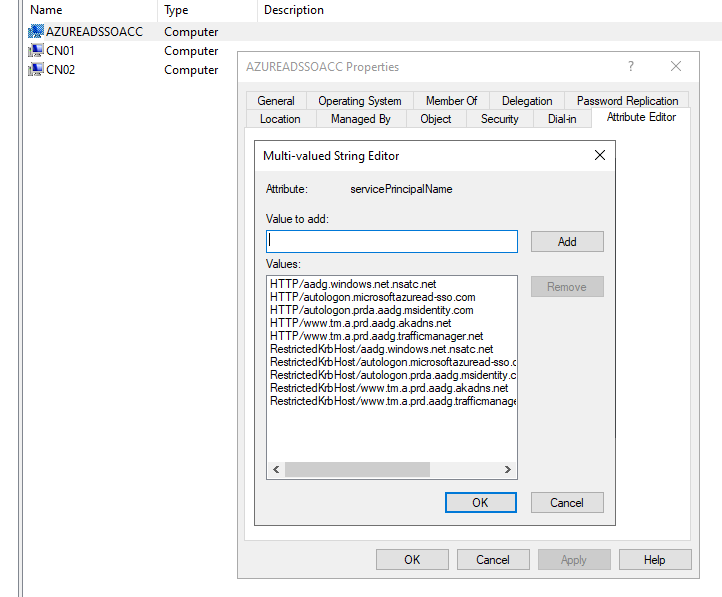
A Computer Account named AZUREADSSOACC will be created in Active Directory which allows the authentication validation between Azure AD and local Active Directory. The Kerberos decryption key is saved in the cloud and should be changed regularly. You can see that on the Computer account, service principal names are configured
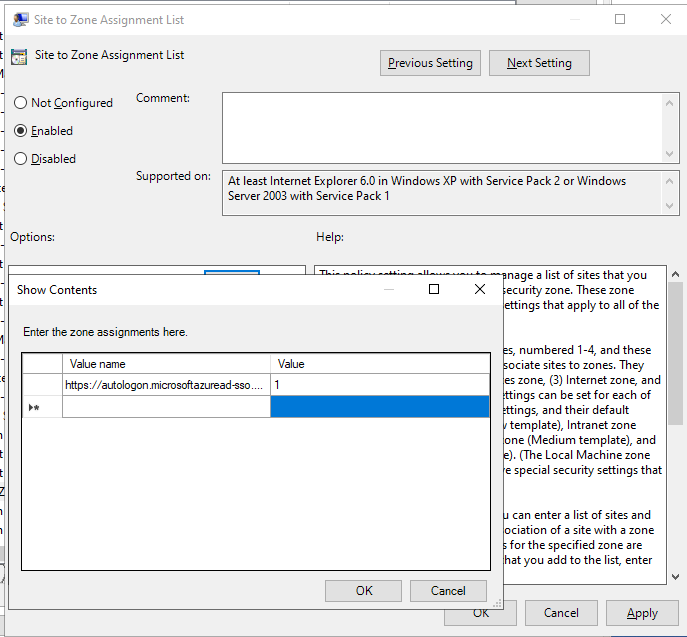
Lastly, you can roll out the feature with Group Policy. The URL https://autologon.microsoftazuread-sso.com must be added to the intranet zone list, which allows the browser to send Kerberos tickets to that site.
The GPO can be found under User Configuration > Policies > Administrative Templates > Windows Components > Internet Explorer > Internet Control Panel > Security Page > Site to Zone Assignment List.
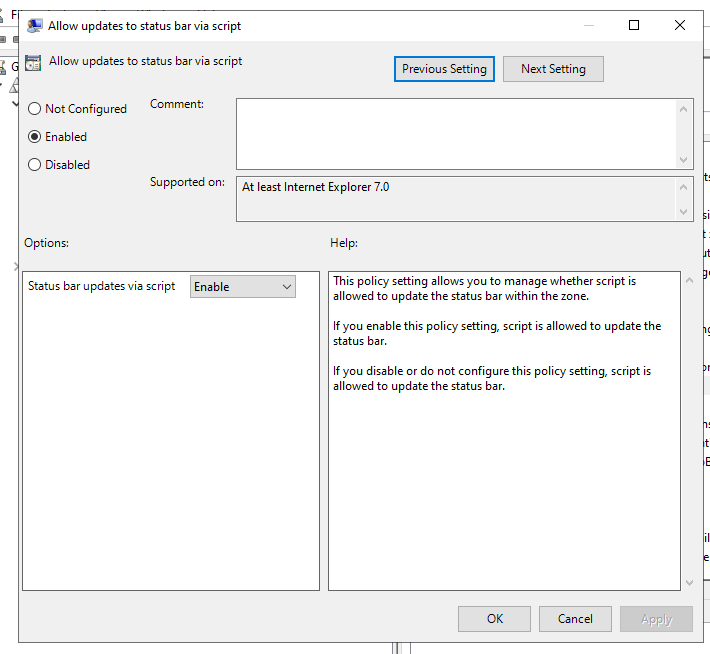
Status bar updates via script must be also enabled. This GPO is located under User Configuration > Policies > Administrative Templates > Windows Components > Internet Explorer > Internet Control Panel > Security Page > Intranet Zone > Allow updates to status bar via script.
You can test the feature by opening portal.office.com. After entering the username, login should be done automatically without needing to insert a password.
References:
https://docs.microsoft.com/en-us/azure/active-directory/hybrid/how-to-connect-sso-quick-start