On old Windows Active Directory environments, you might need to upgrade the Sysvol share from File Replication Service to Distributed File System Replication. This is very easy to do and it should be done asap in your environment.
Unfortunately I do not have screenshots to share with you, but here are the steps:
With dfsrmig /getmigrationstate you can see the status of the migration. Dfsrmig has 4 states starting from 0:
State 0 – started
State 1 – prepared
State 2 – redirected
State 3 – eliminated
Step 1:
dfsrmig /setglobalstate 0
Wait untill all Domain Controllers have the state “started”. You can check the state with dfsrmig /getmigrationstate. Be very patient as it might take some time to replicate changes particularly if you have Domain Controllers on remote offices.
Step 2:
dfsrmig /setglobalstate 1
Wait until all Domain Controller have the state “prepared”. You can check the state with dfsrmig /getmigrationstate. Once again, be very patient and double check the output.
Step 3:
dfsrmig /setglobalstate 2
Wait until all Domain Controller have the state “redirected”. You can check the state with dfsrmig /getmigrationstate. Be very patient and double-check the output.
Step 3:
dfsrmig /setglobalstate 3
Wait until all Domain Controller have the state “eliminated”. You can check the state with dfsrmig /getmigrationstate. Be very patient and double-check the output.
In addition to the last migration state, make sure the File Replication Service service is disabled on every Domain Controller.
A while back Microsoft announced the new and shiny Windows Server 2022 and just a few weeks ago the ISO of the technical preview has been made public. What is new you might ask? Well from the articles I read, Windows Server 2022 is more secure, has a better integration with Windows Admin Center (aka modern MMCs) and has simpler migration steps if you want to move your server to Microsoft Azure. Check the article at the bottom of this page.
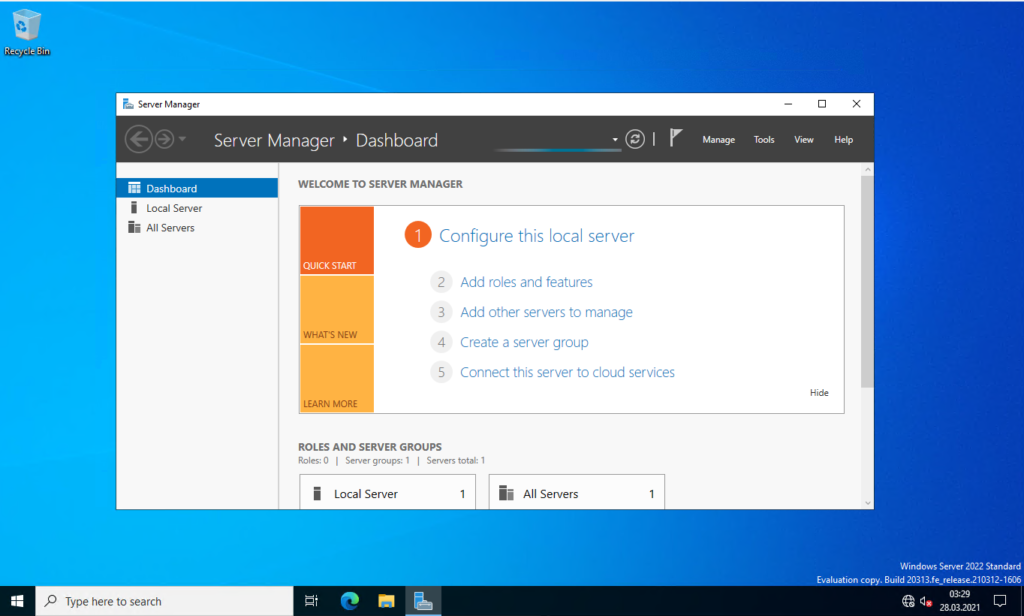
There are also some visual changes. Take a look at the start screen:
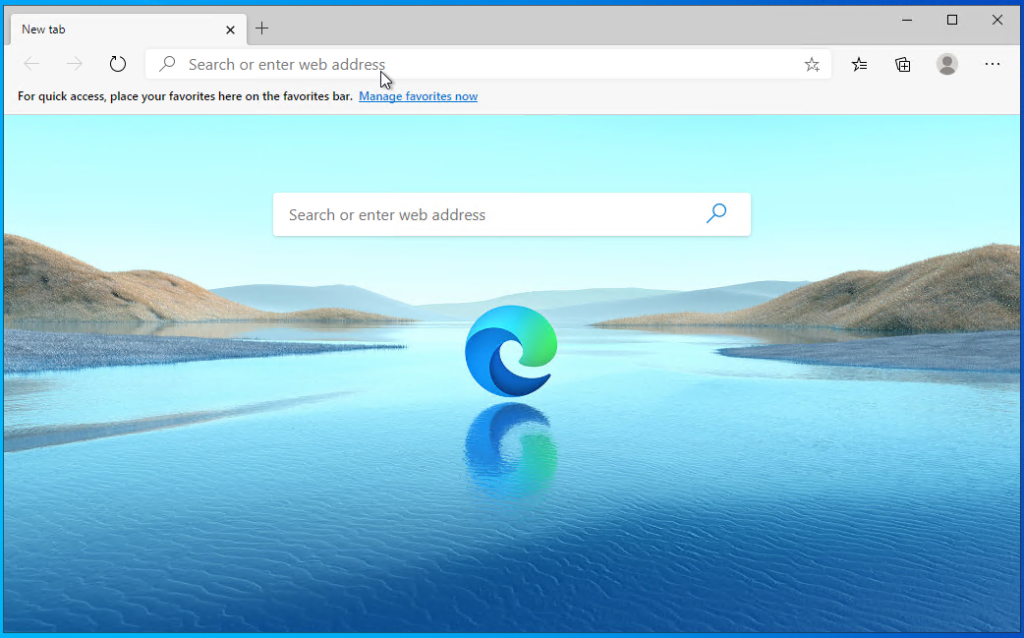
Microsoft Edge Chromium comes pre-installed on Windows Server 2022:
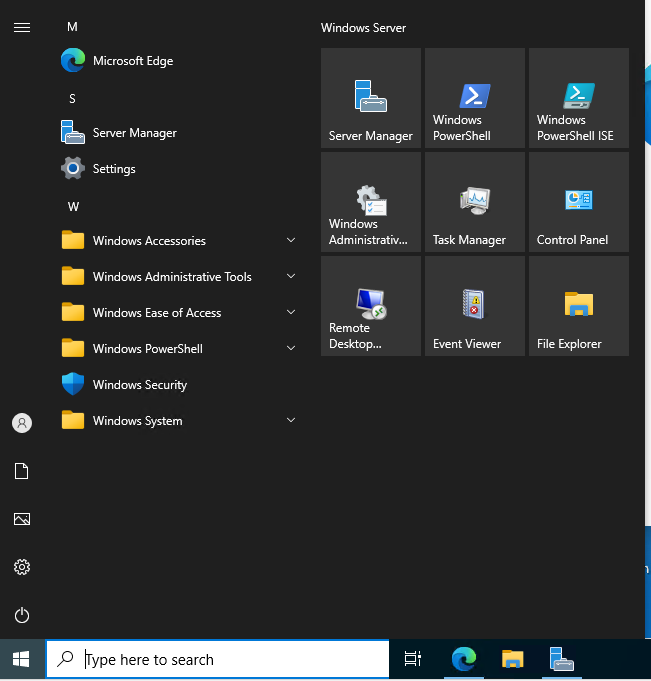
Icons are modern looking like in the latest versions of Windows 10:
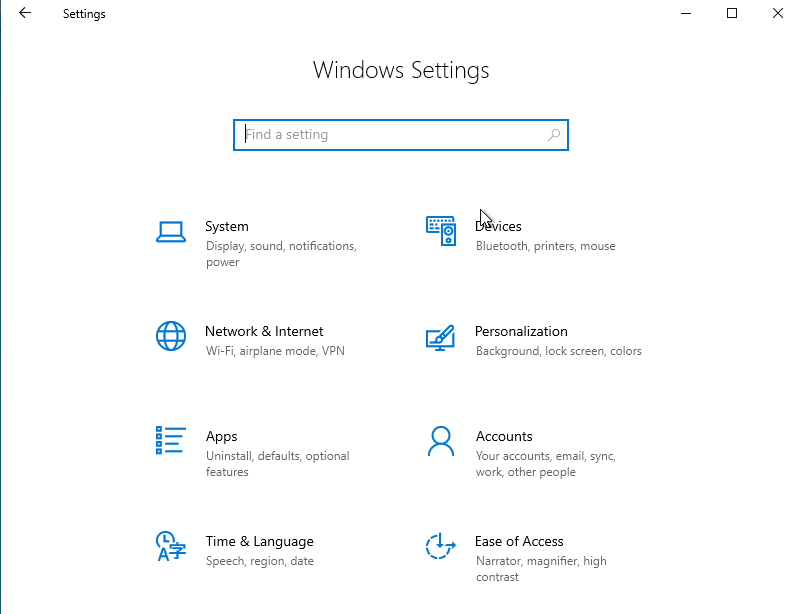
The Settings app looks also slightly different
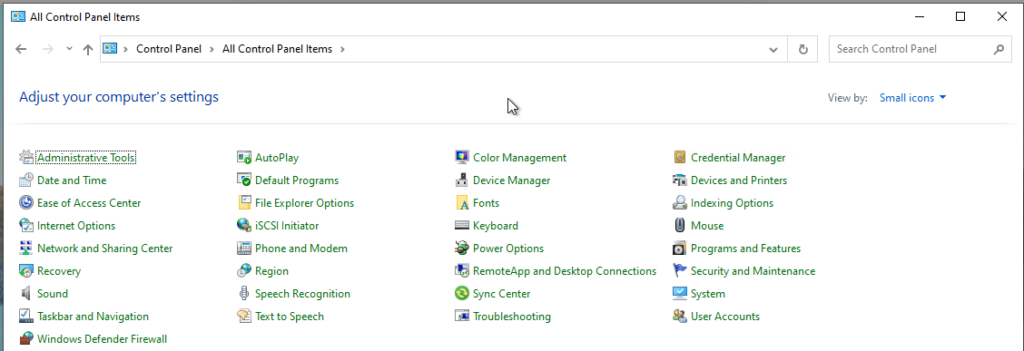
The old Control Panel is luckily still around:
So while aesthetically you might say very little has changed from Windows Server 2019 or even 2016, I am positive that Microsoft has done a lot of changes under the hood that matter and make your infrastructure more secure than ever. This is the version of Windows Server you want to install by default in 1-2 years time.
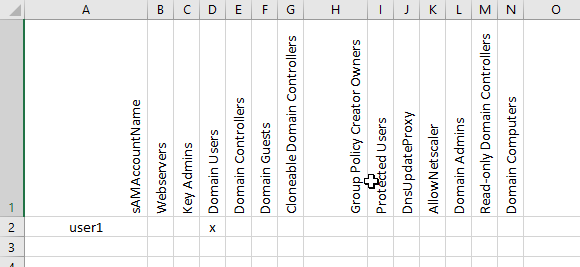
With this awesome script, you can read Active Directory group membership and convert that information into a CSV file, which can be imported in Microsoft Excel.
The file will be saved inside C:\Temp. The result looks something like this (I’m no Excel wizard):
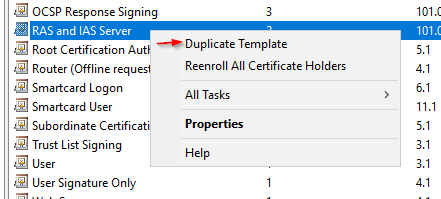
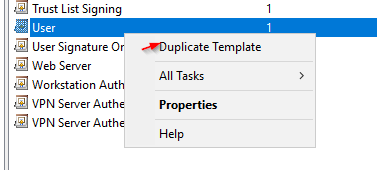
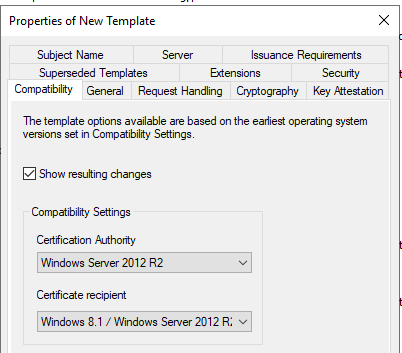
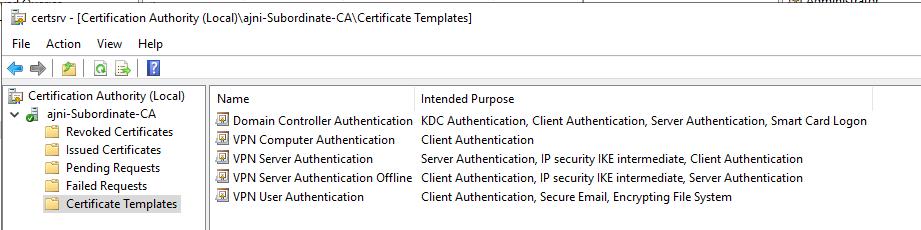
Here are the ADCS Templates needed for the deployment:
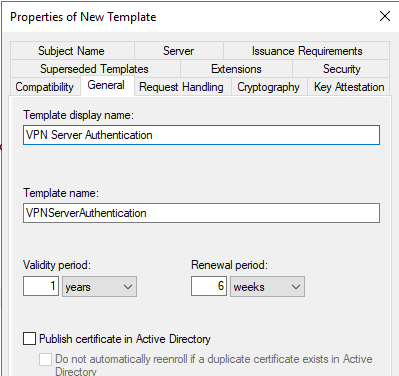
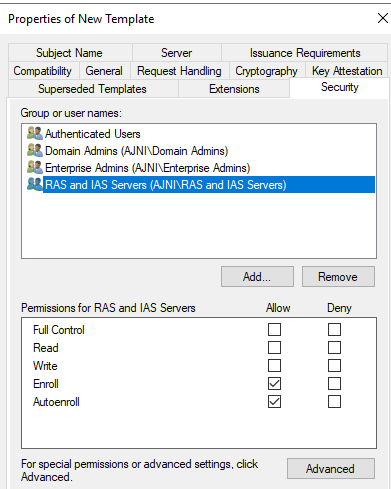
VPN Server Authentication
Make sure you leave Authenticated Users. Add Autoenroll to Ras and IAS Servers.
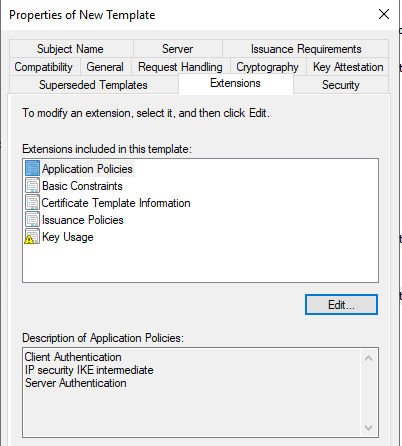
In Application Policies, Add IP Security IKE Intermediate
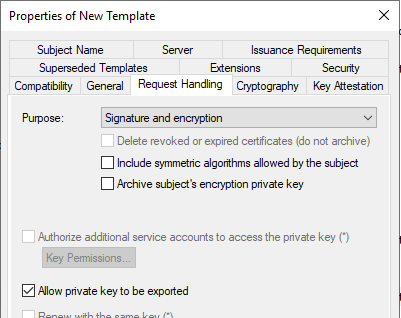
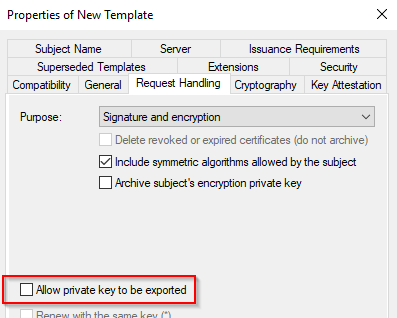
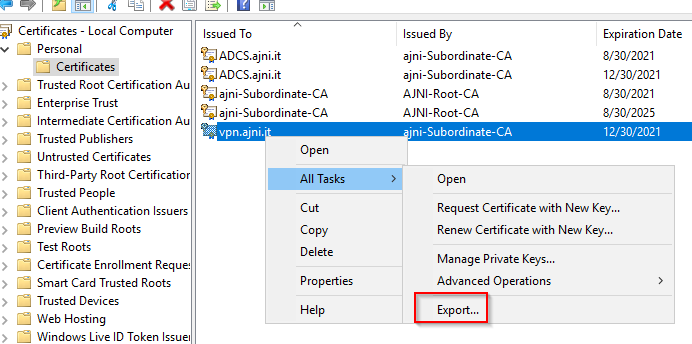
Allow the private key to be exported.
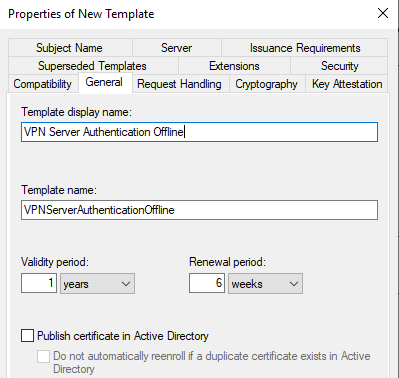
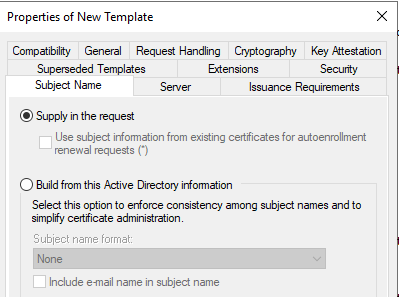
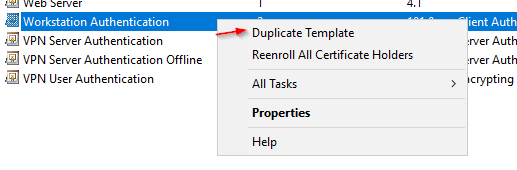
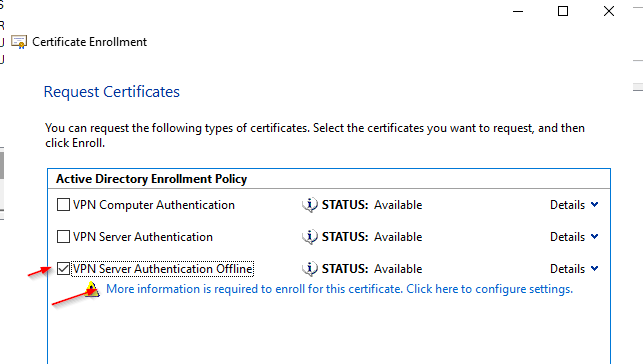
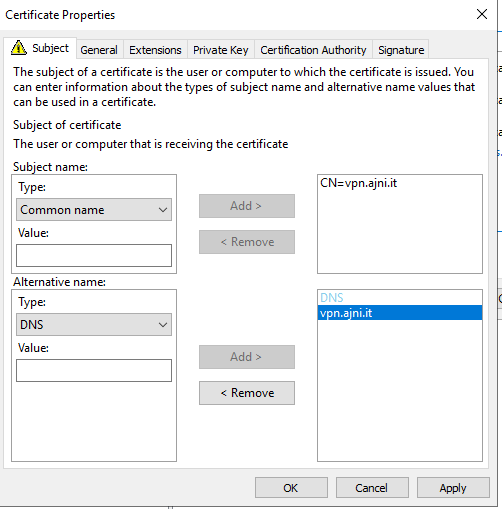
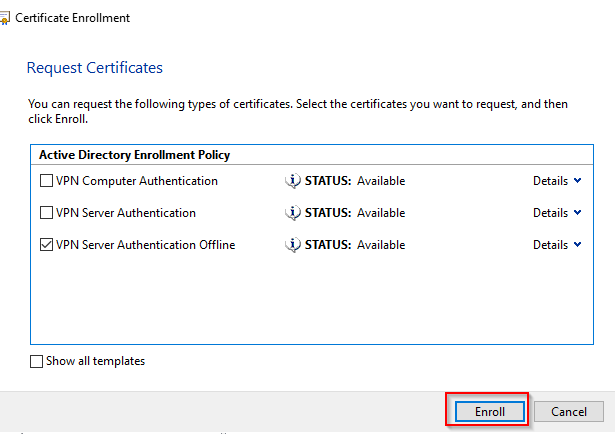
VPN Authentication Offline (Make a duplicate of the template that you just created)
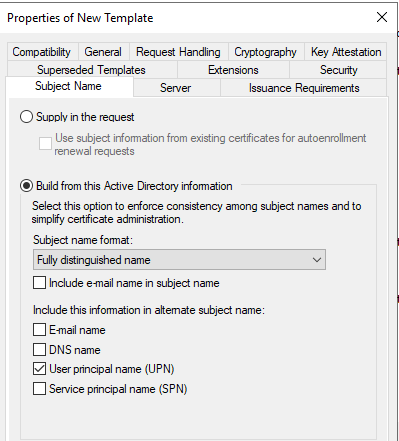
Subject Name – Supply in the request
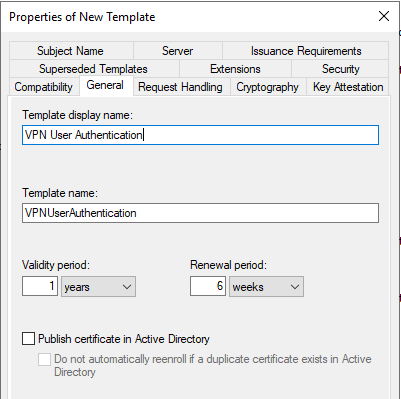
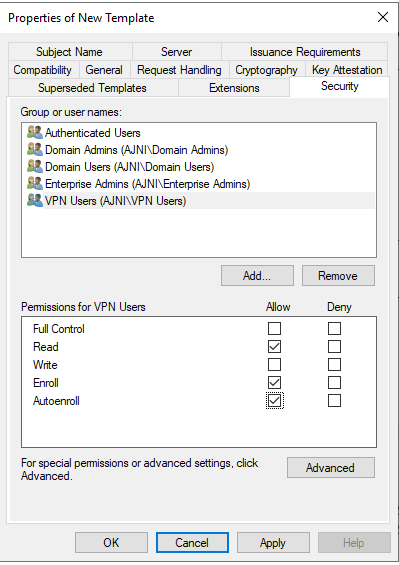
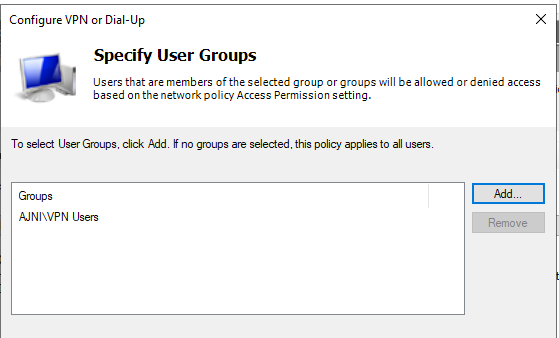
VPN User Authentication
Add the group that will contain the VPN Users
Do not make the key exportable.
You might not need the Microsoft Software Key Storage Provider. If you test the client side on a VM though, the user will not be able to obtain the certificate, because the client computer needs a TPM chip. By selecting the Software Key Storage Provider a certificate is still obtainable.
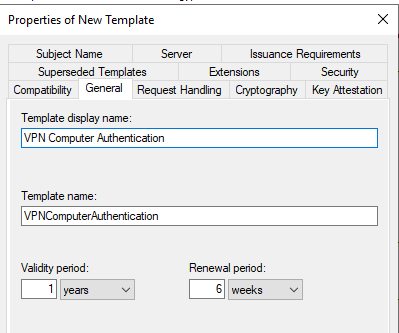
Next, VPN Computer Authentication
Add the group containing the VPN Computers. Computers will use a device tunnel and have access to the Domain Controllers and PKI infrastructure.
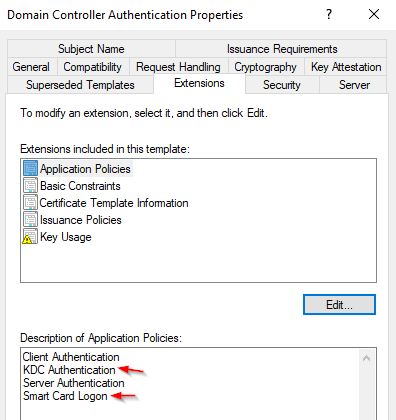
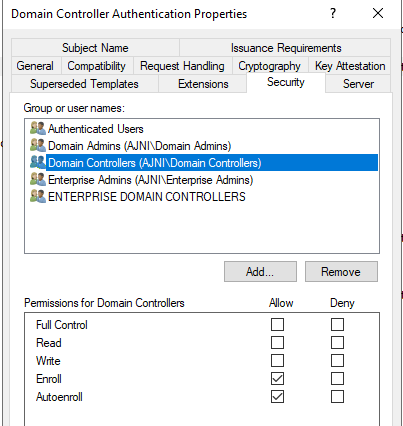
Edit the existing template Domain Controller Authentication. Make sure that KDC Authentication and Smart Card Logon is added.
Auto enrollment should be active. Just double check.
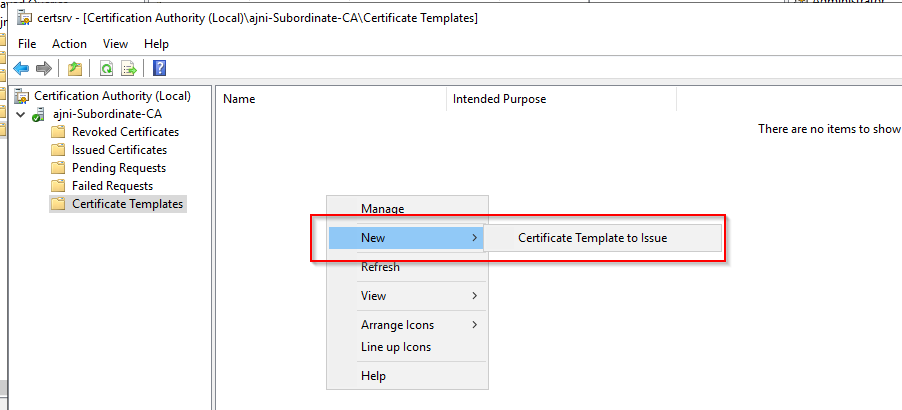
Add the templates that were just created.
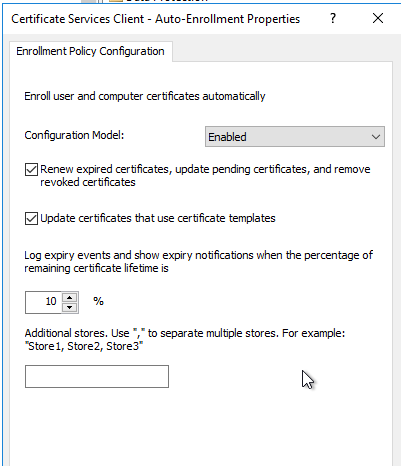
If there is no GPO for Certificate Auto Enrollment, create one at the top of the Domain on the User and Computer Level (Policies > Windows Settings > Security Settings > Public Key Policies > Certificate Services Client – Auto Enrollment):
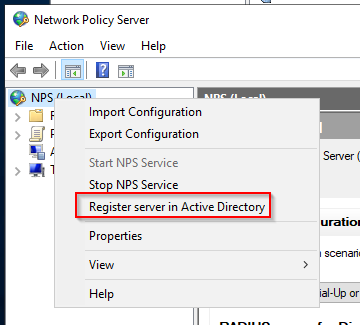
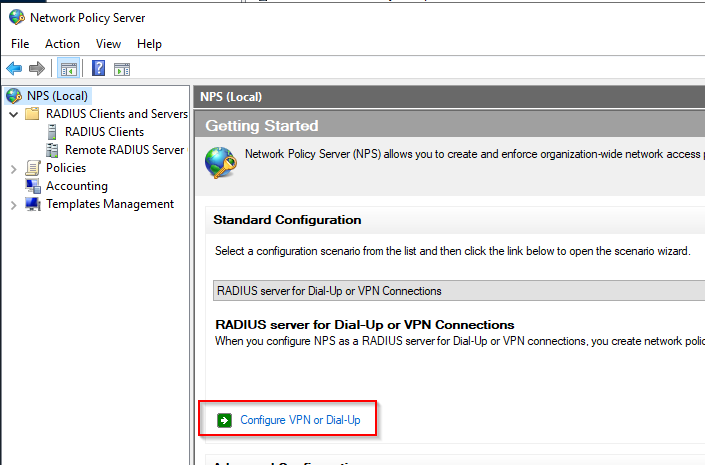
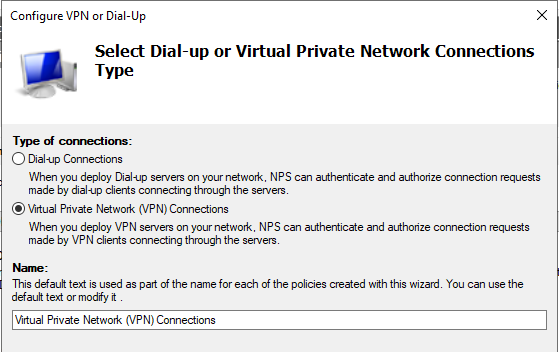
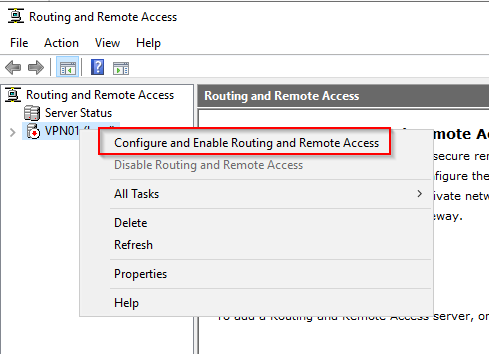
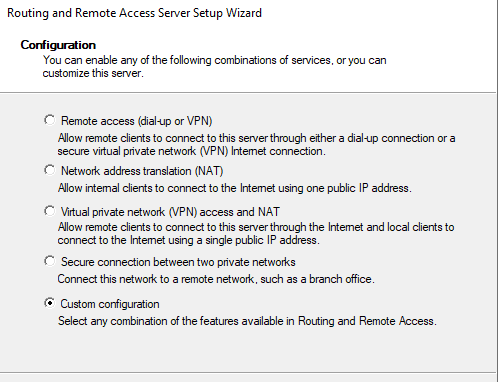
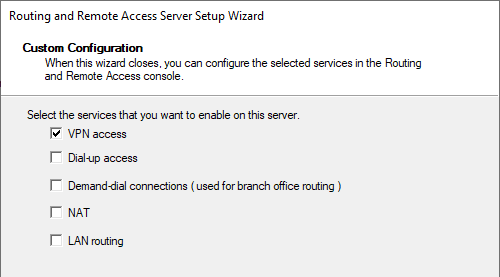
Now, let’s configure the NPS server. Just install the feature through Server Manager (I skipped that part here).
Register the server in Active Directory.
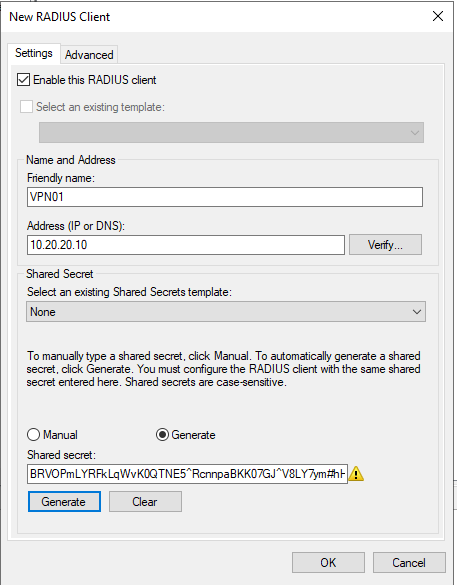
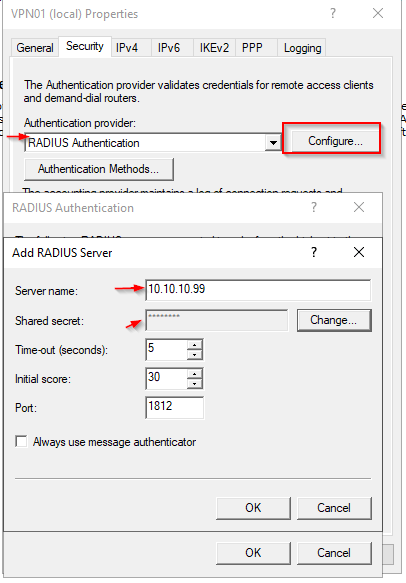
Add a new Radius Client (which will be the RRAS Server outside of the Domain, in a DMZ network). Save the Shared secret externally. It will be added to the VPN server as well.
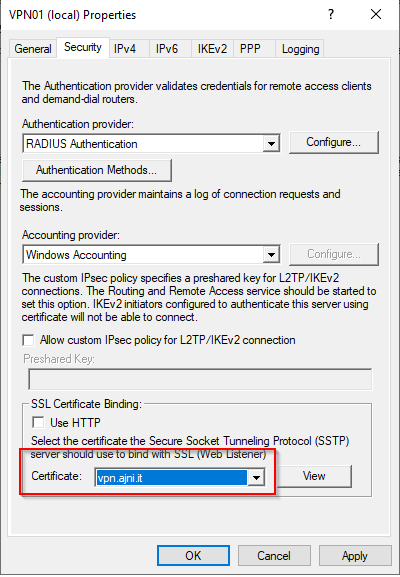
Open the properties of the server > Security. Set the Shared secret that was automatically generated on the Radius server. Insert the IP of the Radius server. Communication is done through Port 1812 UDP.
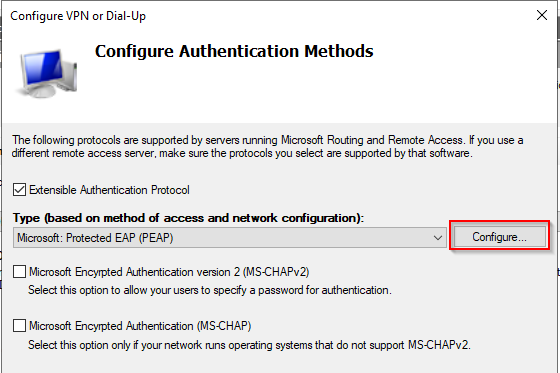
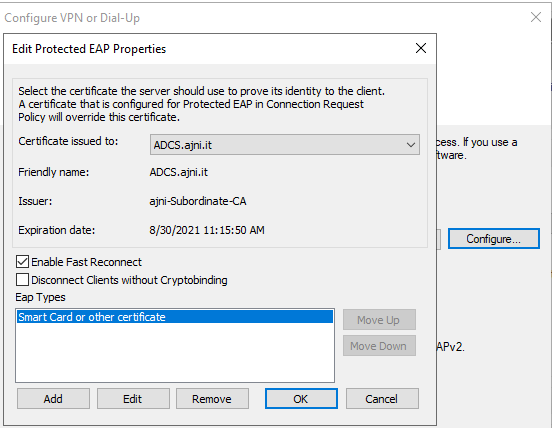
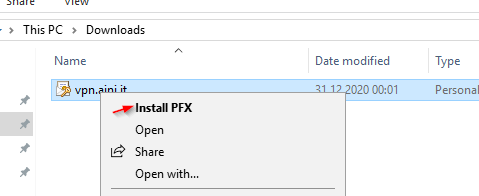
Select the imported certificate.
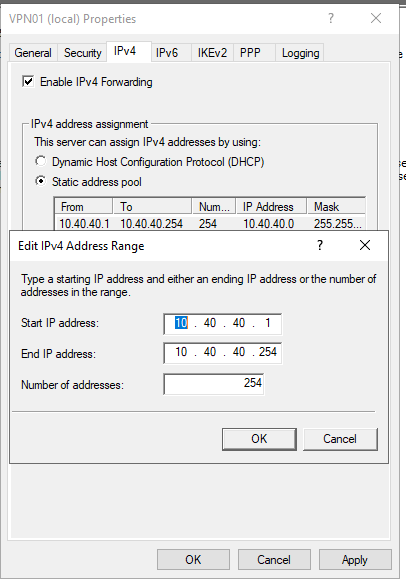
Under IPv4 specify the VPN clients network settings.
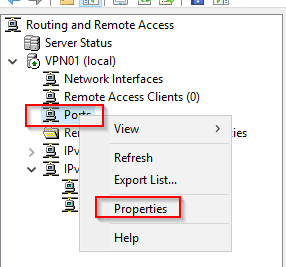
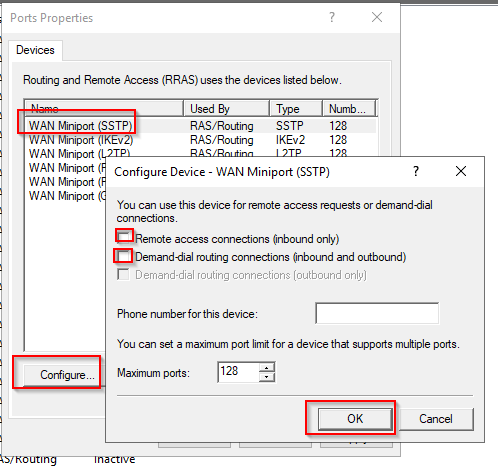
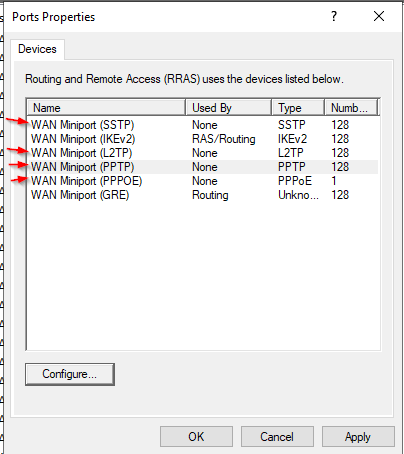
Disable the unused Ports.
Same thing for Wan Miniport L2TP, PPTP and PPOE
To allow the device tunnel, run these PowerShell commands. The device will not be authenticated by the NPS server, instead the RRAS server will validate if the certificate is valid and issued by the Certificate Authority that we trust.
Ports 4500 and 500 UDP must be reachable from the internet. The NAT rule should point to the VPN server.
To deploy the user and device tunnel check out the references at the end. Both scripts must be executed as SYSTEM user. I used Task Scheduler to execute the PowerShell scripts as SYSTEM.
If you need help, let me know. It is fairly straight forward, but you should take your time and thoroughly read the documents before testing.
It is not possible to delete or rename a folder that contains a blank space at the end with Windows Explorer. It can only be done by using this cmd command: