Normally, with an Office 365 mailbox, you can only send mails with the primary email address. Sending from aliases was not allowed. Microsoft recently rolled out this feature which can be enabled through Exchange Online PowerShell:
If you have an AD synced distribution group and want to only allow senders from your organization, the msExchRequireAuthToSendTo attribute must be set to TRUE in the Attribute Editor. If you try changing that in the Exchange Online console, an error will appear.
When synchronizing on-prem users to Azure AD, there is a chance that Exchange attributes like msexchHideFromAddressLists are missing in Active Directory because the Exchange schema has never been updated, since there has never been a local installation of Microsoft Exchange. In that case, you could either extend the AD schema to include Exchange attributes or you could work with Azure AD synchronization rules, which is safer in my opinion.
On the Azure AD server, open Synchronization Rules Editor
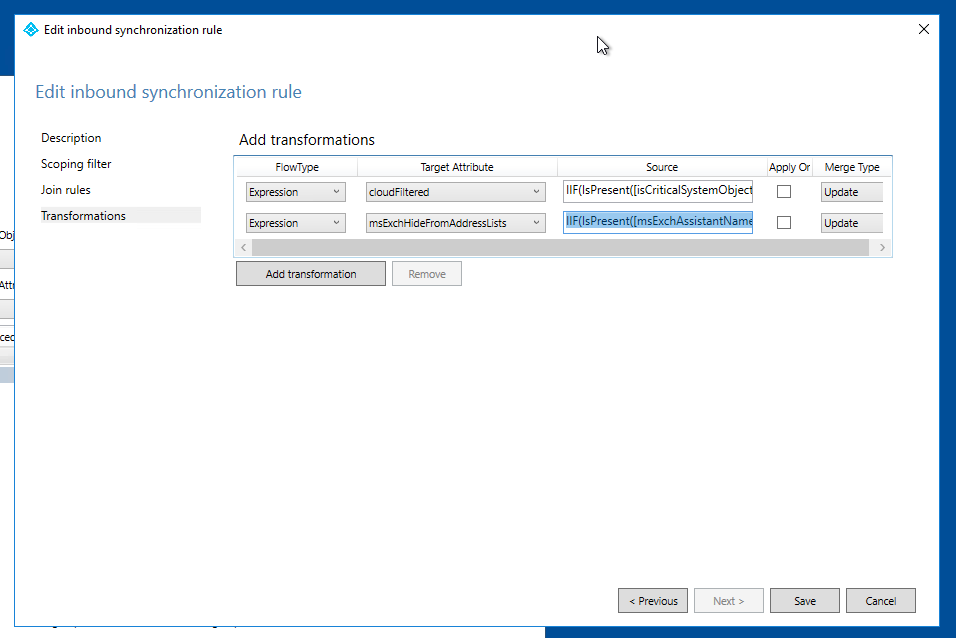
Edit the rule “in from AD – User join”. This will disable the rule itself and create a new one. Give the rule a descriptive name and a precedence of 50.
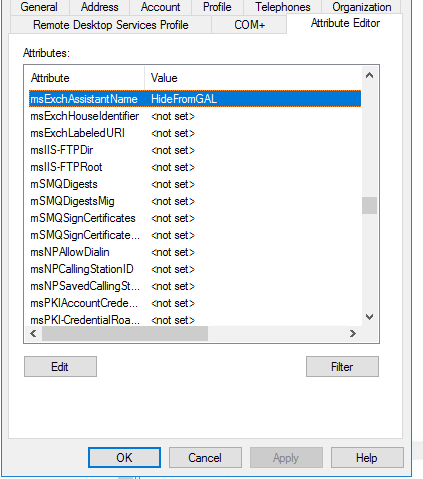
Now, you can set the attribute msExchAssistantName to HideFromGAL on the AD user. This will tell Azure AD Connect to set msexchHideFromAddressLists to true on the cloud side.
Obviously, you could use another attribute to achieve the same goal. Just change the if statement slightly.
Getting started with Microsoft 365/Exchange Online in 2021 is very easy and relatively cheap (I am paying 5 bucks a month for one mailbox and some extra stuff, like 1 TB of OneDrive storage).
Roughly speaking, here are the high level steps from beginning to end:
Create your subscription
Add a custom domain
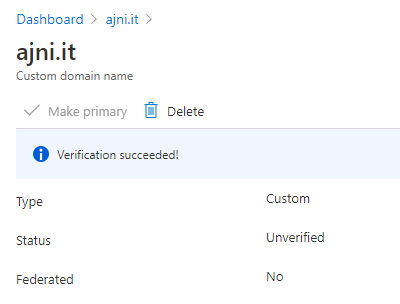
Verify the domain
Add DNS entries for MX, Autodiscover, and SPF
Create users
License users
Wait some minutes to see the mailbox in Exchange Online
Add account in Outlook
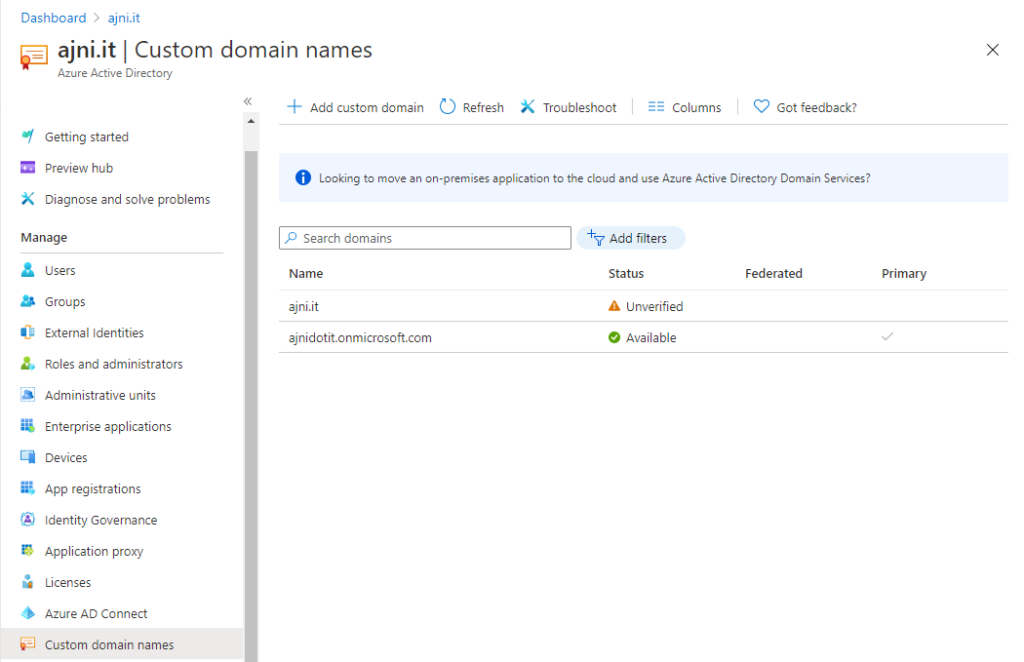
After creating your tenant (easy to do, you can also work with a third party, instead of buying the subscription directly off of Microsoft), open https://admin.microsoft.com and select Azure AD. Unser Custom domain names, add the organization’s domain.
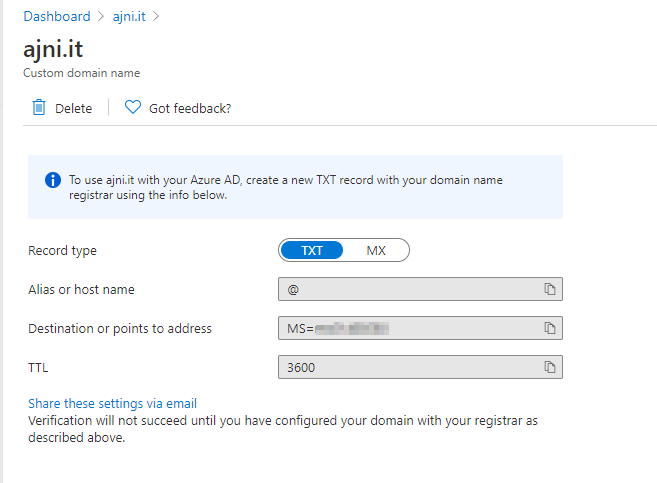
You verify the domain by adding a TXT record to at the root of your domain. You could also verify by MX record, but usually the organization has some sort of functioning mail product, so in a migration scenario that is not an option.
@ means the root of your domain. In my case ajni.it
Due to DNS Time To Live (TTL) and caching, this might take some time.
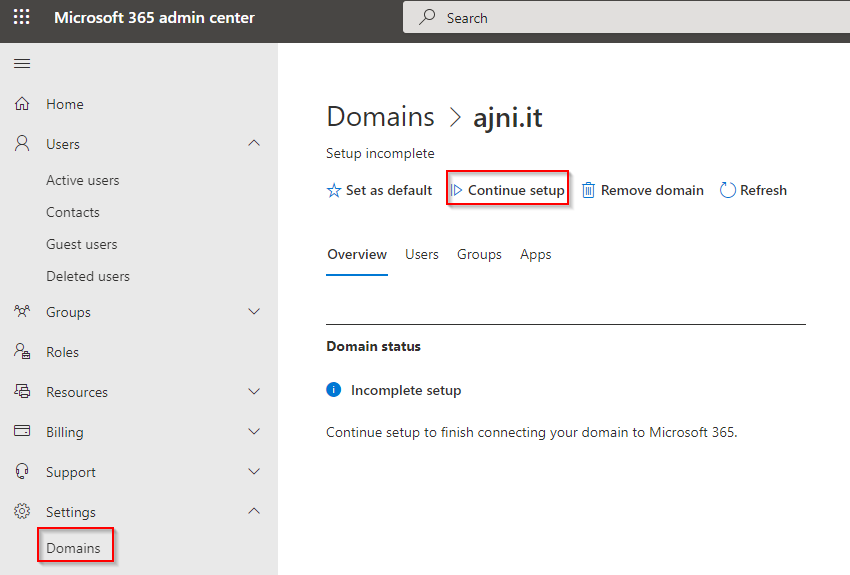
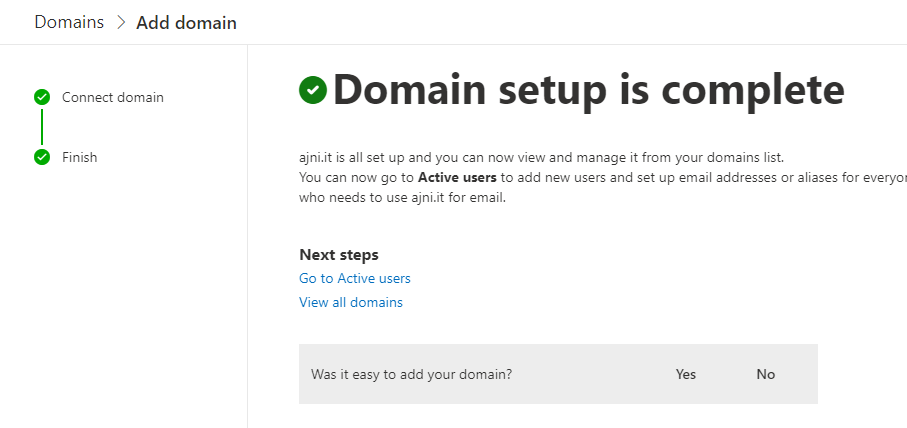
Back to the Microsoft 365 Admin Center, under Settings > Domains select the newly added domain and then Continue setup. Add the 3 records to your DNS.
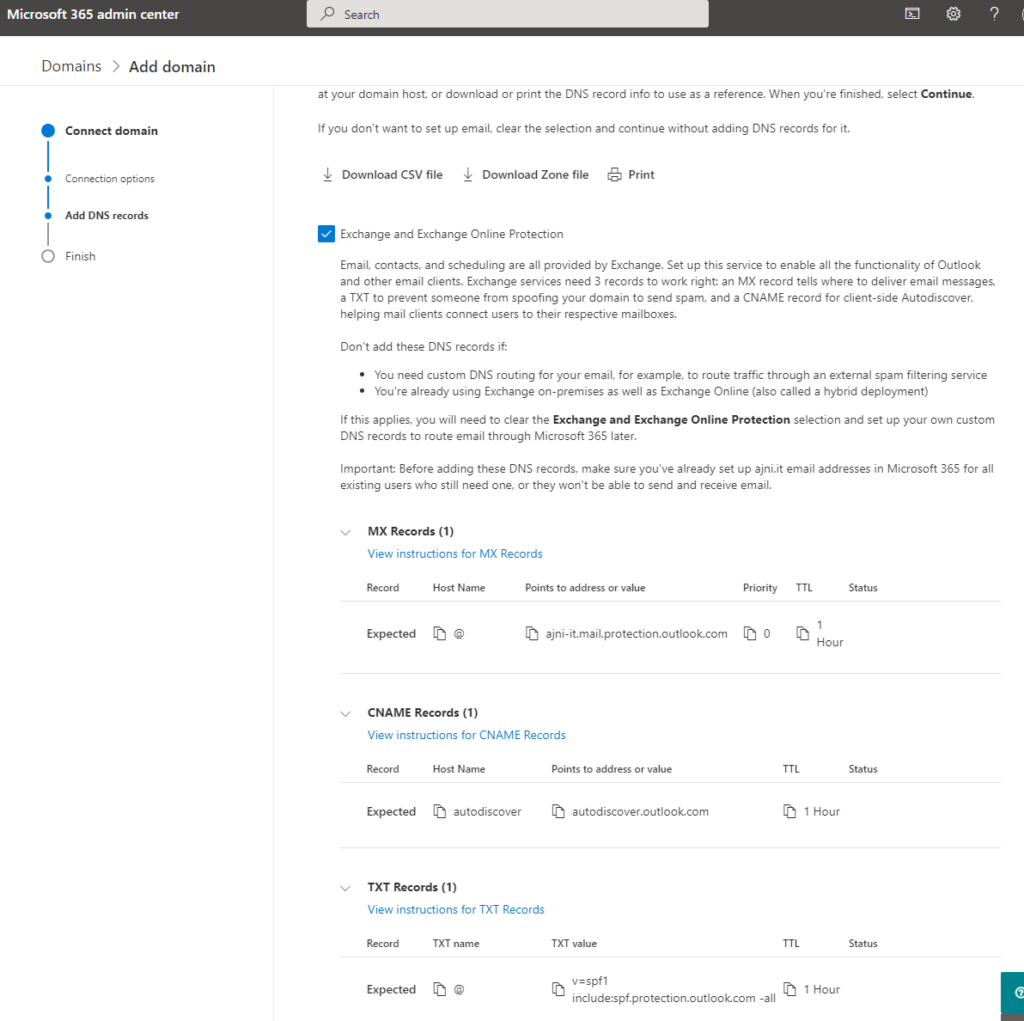
Select Add your own DNS records. For mailing, Exchange Online and Exchange Online Protection records are needed.
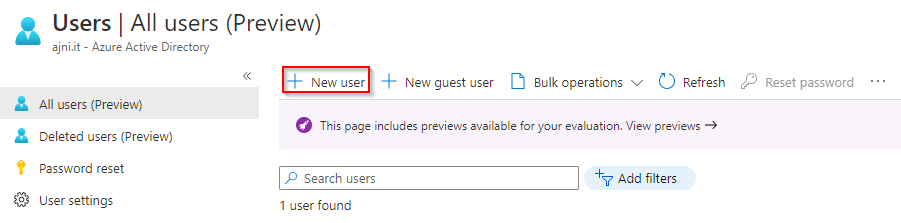
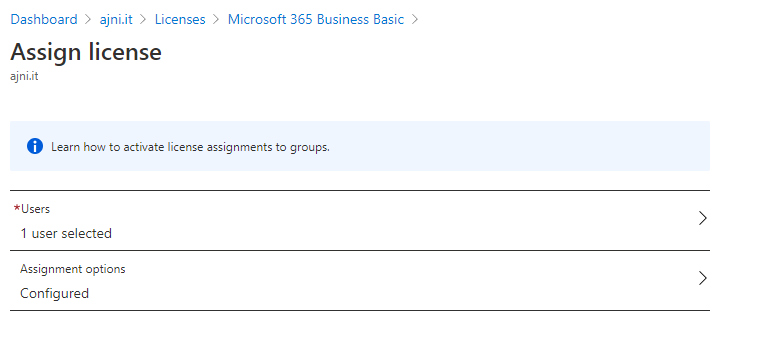
After correctly adding DNS records for Exchange Online, add a user in Azure Active Directory and assign the license. Very straightforward. Set usage location to your organization’s country. If you do not specify a usage location, licenses cannot be assigned to that user.
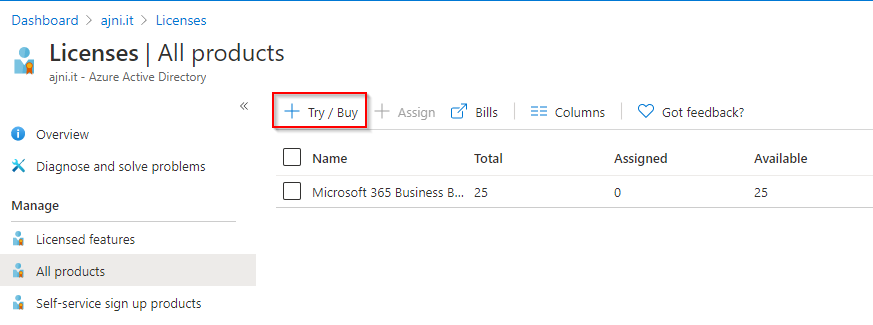
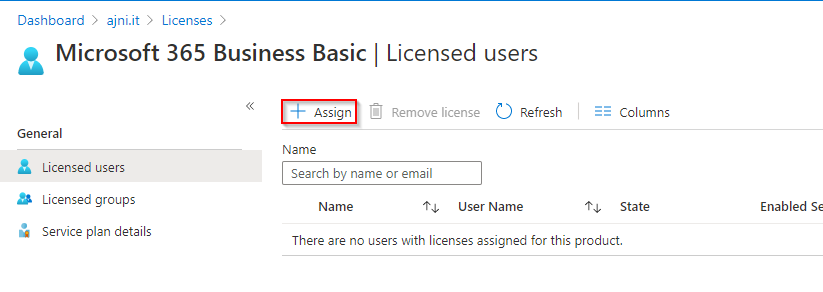
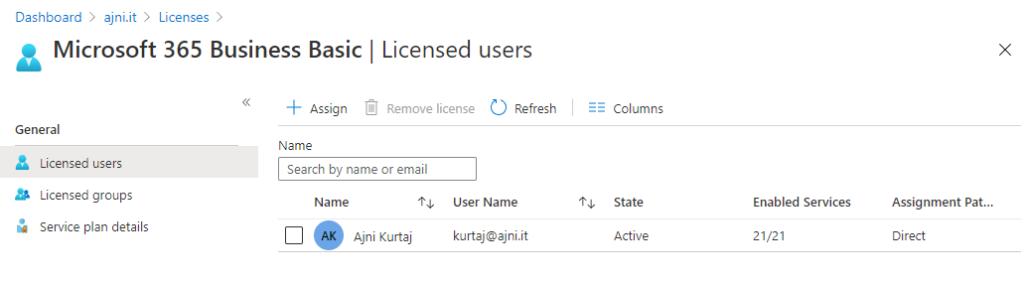
Under License the license can be assigned.
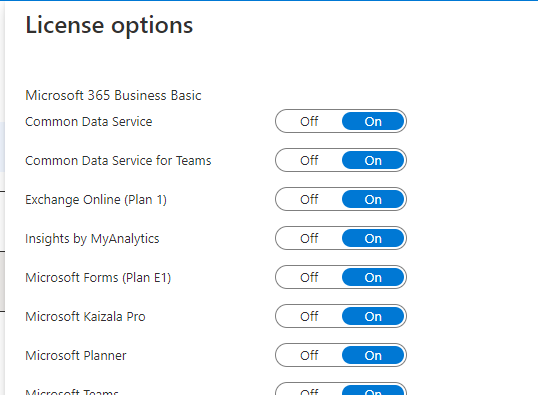
You could also choose to selectively assign certain products of the subscription. Either way one license will be burned.
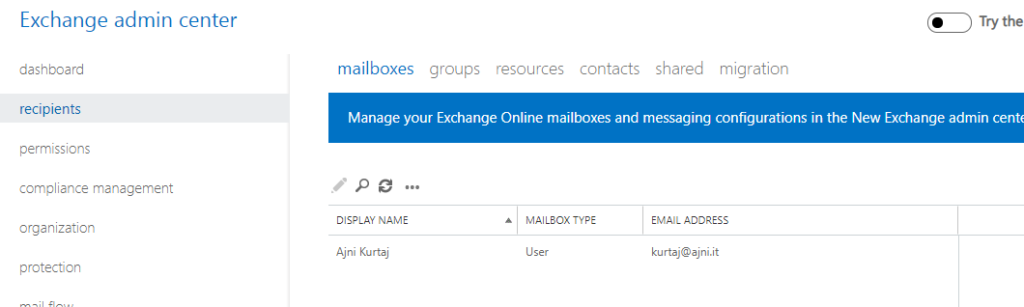
It takes some minutes for the mailbox to show up in Exchange Online after assigning the license.
From now on, the account can be added in Outlook or accessed through Outlook on the Web https://outlook.office365.com
If a computer is in an Active Directory Domain environment with Exchange On-Prem installed, Outlook clients might connect to local Exchange instead of Exchange Online, because they query Active Directory first.
This Registry key will avoid SCP Lookup in Active Directory.